Basic Pull Requests
Last updated on 2026-06-22 | Edit this page
Estimated time: 16 minutes
Overview
Questions
- What makes a good PR?
- How do you open a PR?
- How do you interact with a PR?
- How do you merge a PR?
Objectives
- Recognize what makes a pull request easy to review.
- Become familiar with basic actions on GitHub Pull Requests.
What Makes a Good PR?
Before we open one, it helps to know what we’re aiming for. A PR that’s easy (and fast) to review tends to have the following characteristics:
| Characteristic | In plain terms |
|---|---|
| One cohesive change | A PR should do one thing. Don’t bundle a bugfix, a rename, and a new feature together — they can’t be reviewed or reverted independently. |
| Reasonable size | Hundreds of changed lines are miserable to review. If a change is big, split it into smaller PRs. |
| Descriptive what / how / why | The title and description should answer: what changed, how it changed (and side effects), and why. |
Keep these in mind for the PR you’re about to open — we’ll practice spotting violations later.
Open a PR
A PR cannot be opened without some changes to be incorporated. For
this example, we will use the branch and merge
workflow; however, another common method is the fork,
branch, and merge method.
Multiple Paths Available
We will do the rest of this lesson through the GUI; however, all of these steps can be done via command line and your preferred text editor. Do whatever feels right for you!
Make a Change
Edit a file in your repository (click the file, then the Edit pencil). When you’re happy with it, click Commit changes… to open the commit dialog.
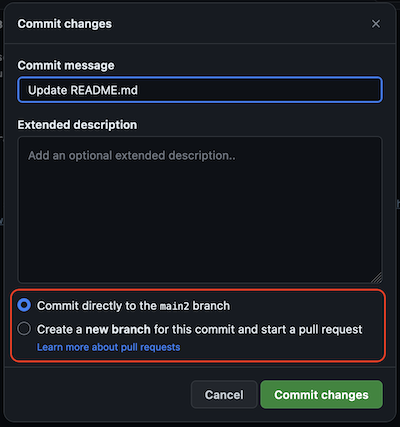
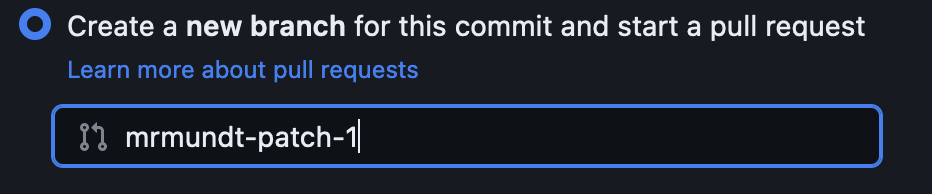
Rather than committing directly to main, choose
Create a new branch. GitHub autofills a branch name,
which you can keep or change.
Make a PR
Committing to the new branch loads the Open a pull request page, pre-filled with your commit message as the title. Like an issue, a PR has a Title, a Write area (Markdown), and a Preview. Fill in the description, then click Create pull request.

Open Your StarSort Fix
Time to fix that StarSort bug! In your practice repository:
- Make a change to your
README.md(pretend it’s the code that fixes the empty-folder crash). - Commit it to a new branch.
- Open a PR — and write a description with what / how / why (use the good-PR table above, not just a one-word title!).
- Create the PR.
GenAI: Draft the description from your diff
Staring at a blank description box? Paste your diff into an LLM and ask for a PR description with what/how/why sections. It’s a fast first draft — but check it: the AI can describe what changed from the diff, but only you know the why. Fix anything that it hallucinated.
Interact with a PR
There are many interactions available on an open PR.
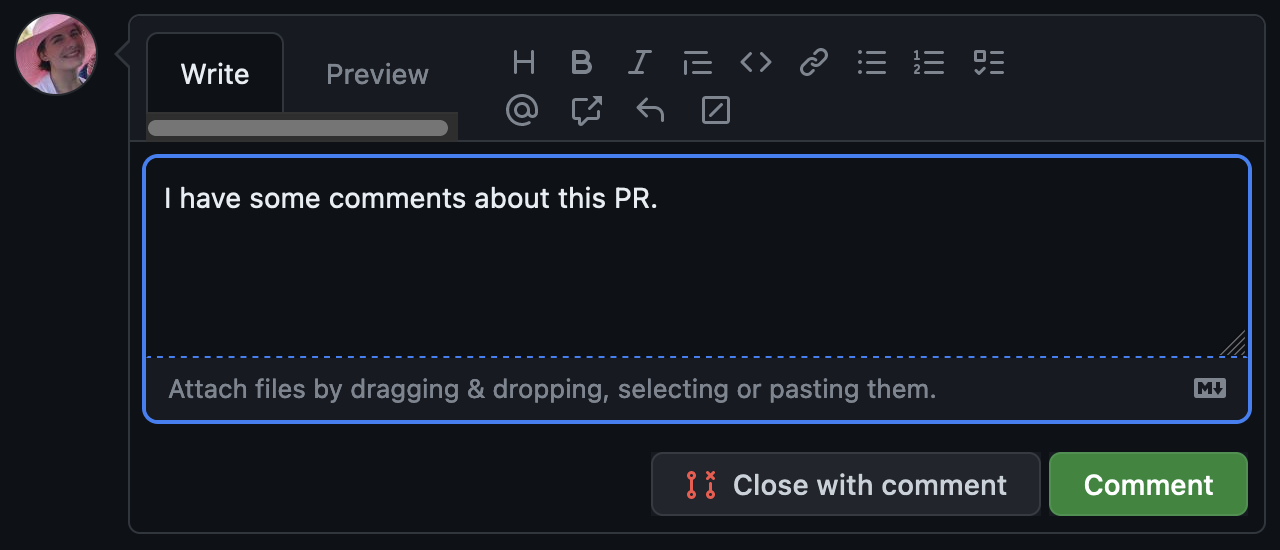
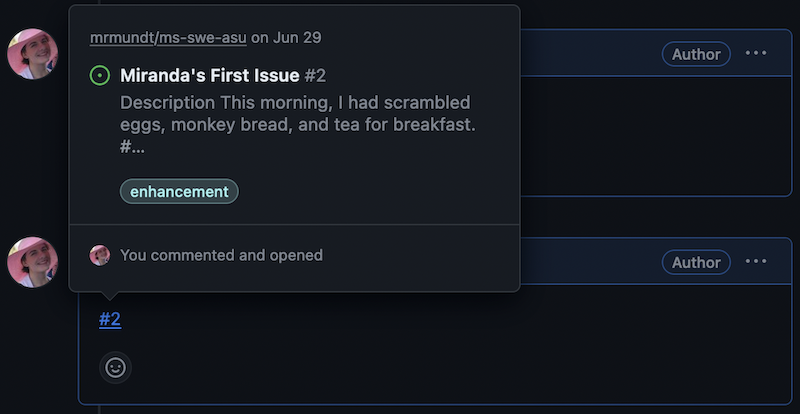
The most basic interaction is adding a comment. This is how you can interact with the PR author, the assignee, and others who have commented on or subscribed to the PR.
Simply click in the comment box at the bottom of the PR, type whatever you’d like, and click “Comment.”
Another useful feature for GitHub is linking Issues and PRs. This is
actually very simple. In the PR’s description or in a comment, mention
the relevant Issue using # and the Issue number.
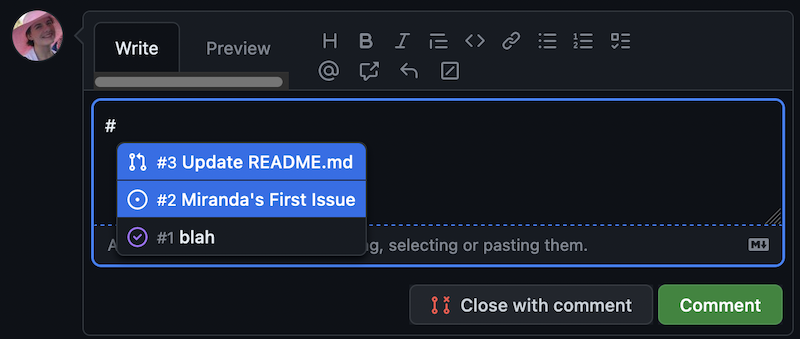
This will create a link to the Issue.
You can also edit the information in the right-hand column.
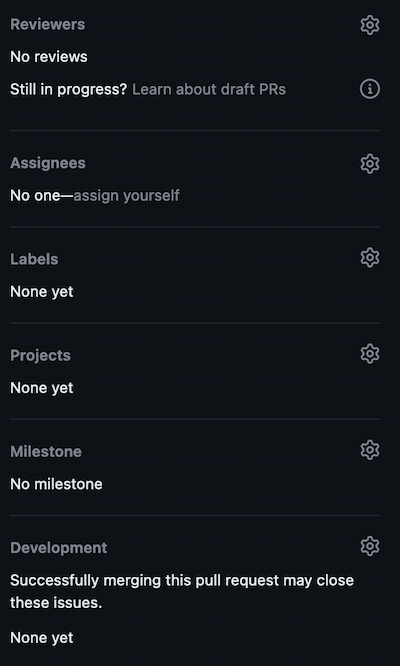
We will cover the following options:
| Options | Purpose |
|---|---|
| Reviewers | Assign reviewer(s) to look over your proposed changes. |
| Assignees | Add assignee(s) who are responsible for incorporating proposed changes. |
| Labels | Assign label(s) to categorize the PR. |
Link It Up
Navigate to your StarSort PR from the previous exercise.
- Add yourself as the
Assignee. - In the description or a comment, link the StarSort bug issue you
filed earlier using
#and its number (or any open issue, if you don’t have one).
Merge a PR
We are done with these changes. We have completed the work on it, had our discussion, and now we are ready to merge the changes.
Wait, what about review?
Nobody reviewed our changes, so do we really want to merge? In a real-case scenario, no! We will cover more about reviewing later, though, so we are going to skip it for now.
Merging a PR is quite simple - just click the “Merge pull request” button.
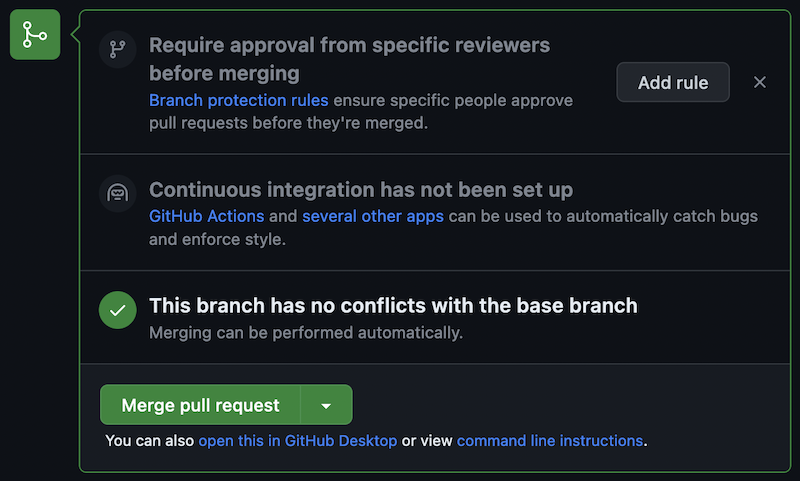
The dropdown on the “Merge pull request” shows several options:
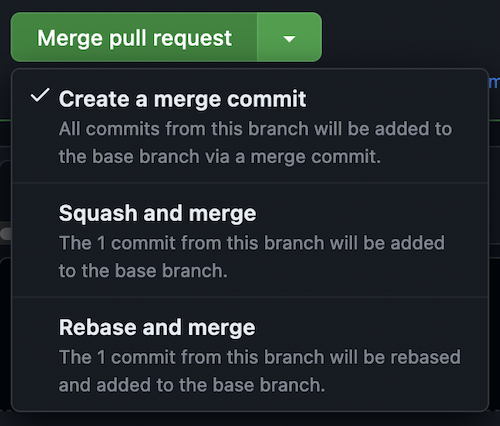
We will not cover all of these options here, but read more about them in GitHub’s official documentation.
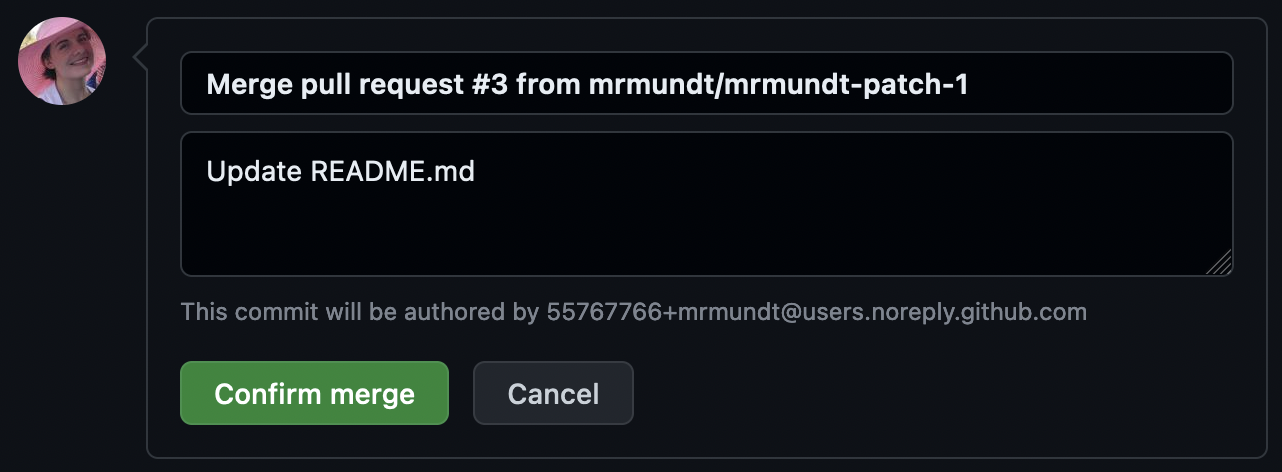
When you click the “Merge pull request” button, a new dialog box appears, prompting for the commit message. Once you have made the preferred edits, click “Confirm merge.”
The changes have been incorporated back into the main
branch.
Ship the Fix
Navigate to your StarSort PR from the previous exercises.
- Click “Merge pull request”
- Modify the merge message
- Merge!
You now know the basic actions you can take on a GitHub Pull Request!
- A good PR makes one cohesive change, stays a reasonable size, and describes what/how/why.
- New PRs can be opened in a repository from a branch or a fork.
- Text on PRs use Markdown styling for formatting.
- A user can interact with PRs in multiple ways: commenting, assigning reviewers, linking to other issues and pull requests, and more.
- GenAI can draft a PR description from your diff, but only you know the why — verify it.