
Labels and Templates
Last updated on 2026-06-22 | Edit this page
Overview
Questions
- How do you assign labels to PRs?
- How do you create PR templates?
Objectives
- Learn how to use labels for GitHub PRs.
- Learn how to create a PR template.
GitHub Labels
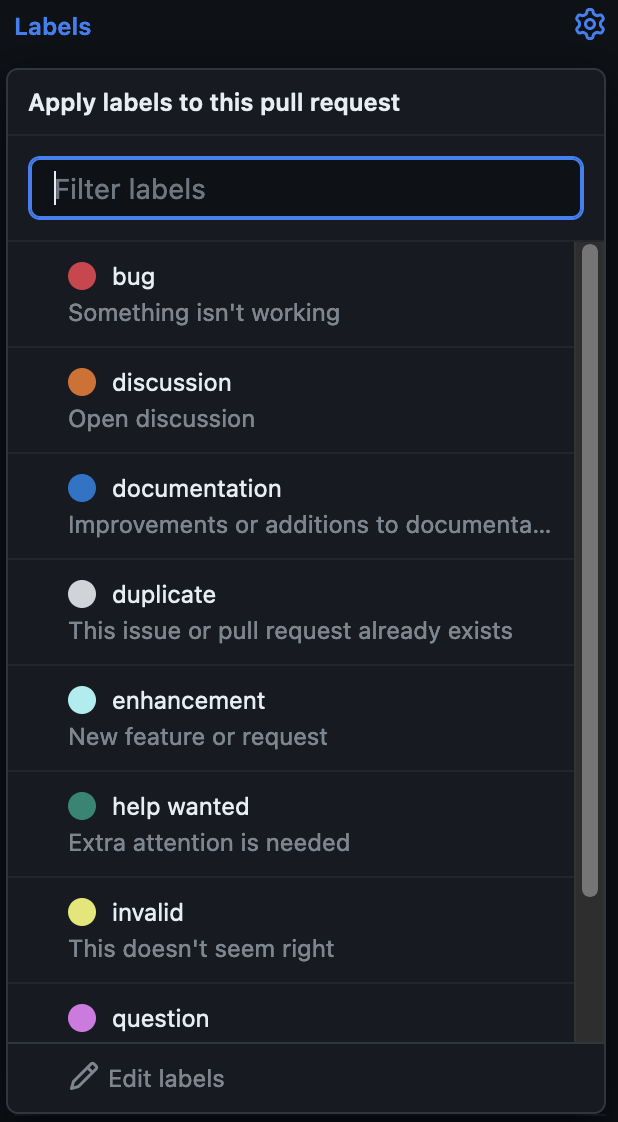
Each new GitHub repository comes with a set of default labels that can be assigned to issues, pull requests, or discussions.
(If you took the Issue Tracking lesson, you’ll recognize these — labels are shared across issues and PRs in a repo.) From GitHub’s official documentation:
| Label | Description |
|---|---|
bug |
Indicates an unexpected problem or unintended behavior |
documentation |
Indicates a need for improvements or additions to documentation |
duplicate |
Indicates similar issues, pull requests, or discussions |
enhancement |
Indicates new feature requests |
good first issue |
Indicates a good issue for first-time contributors |
help wanted |
Indicates that a maintainer wants help on an issue or pull request |
invalid |
Indicates that an issue, pull request, or discussion is no longer relevant |
question |
Indicates that an issue, pull request, or discussion needs more information |
wontfix |
Indicates that work won’t continue on an issue, pull request, or discussion |
These labels can be viewed from the Issues and Pull Requests pages.

Using Labels
Apply labels two ways: from the main Pull requests page (checkmark a PR > “Label” dropdown > pick label(s)), or inside a single PR via the Labels option on the right-hand side.
Tag Your StarSort PR
A reviewer should know your StarSort PR touches the docs as well as the fix. In your practice repository’s PR page:
- Make another small change to your
README.mdand open a PR. - Add the
documentationlabel.
What are PR Templates?
PR templates in GitHub are a way to pre-fill new PRs with specific sections, data, instructions, etc.
They are customizable for every project. You can add as many templates as makes sense for your project, or you can have none at all.
Create a New PR Template
Unlike Issues, GitHub does not have a default template for PRs. Instead, we must make the template from scratch.
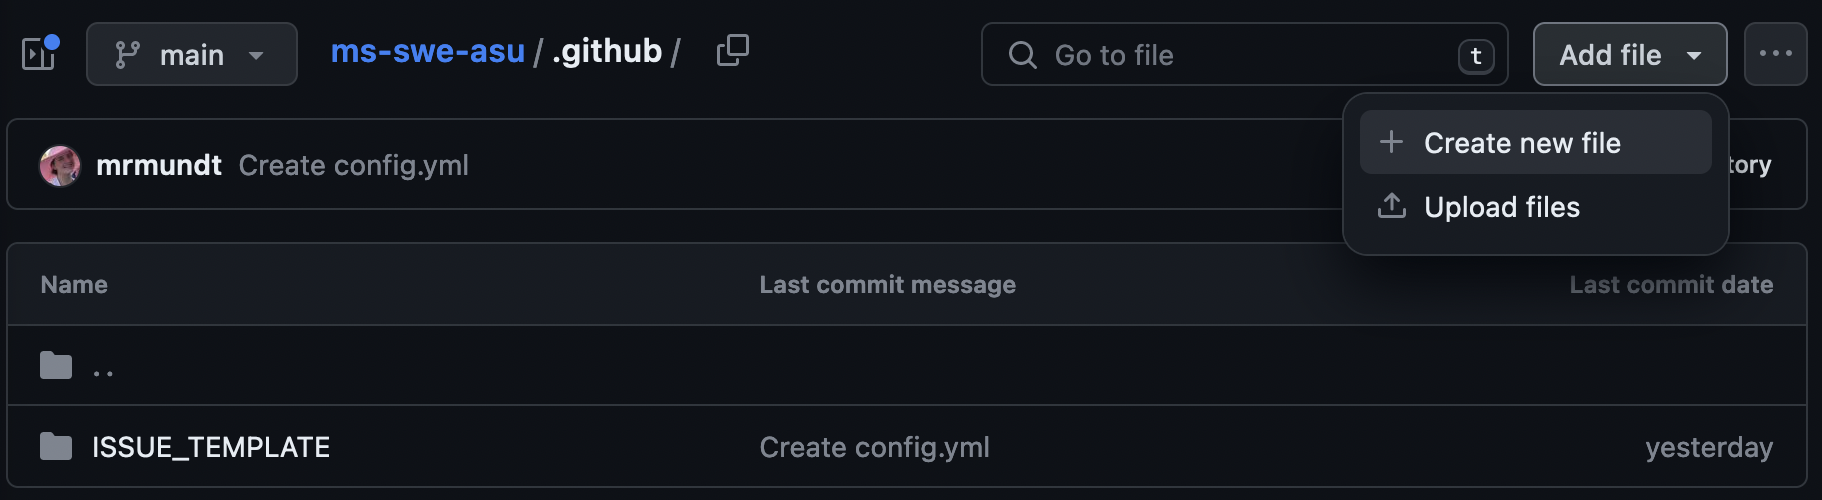
We navigate to the main repository page. We can make the template in
the root of the repository; however, we recommend instead making it in
the .github directory.
The .github Directory
If you are completing this episode after doing the Issue Tracking
lesson, you should already have a .github directory. If
not, you’ll need to make one! Read more about it on freeCodeCamp.
In the .github repository, we will add a new file named
PULL_REQUEST_TEMPLATE.md.
You can now put whatever content you desire in the template. Some examples are:
- Link to Issue: If you want the submitter to link to relevant issues.
- Summary: A section for a description of the changes proposed
- Checklists: A checklist of steps to be completed before a PR can be reviewed.
- Legal Acknowledgement: A summary of legal information
Once the template has the preferred information, commit the changes
to the main branch.
GenAI: Generate a starter template
Templates are structured boilerplate — exactly what LLMs do well. Try asking: “Write a GitHub PULL_REQUEST_TEMPLATE.md for a research software project, with a description section, a what/how/why prompt, and a reviewer checklist.” You’ll get a reasonable draft. Then adjust it to what your team will actually fill in — “less is more” applies to templates too.
Make the StarSort Template
The StarSort maintainers want every PR opened to be consistent. In
your practice repository, create a
PULL_REQUEST_TEMPLATE.md that includes:
- A Description section
- A checklist with two steps (e.g., “tests pass”, “docs updated”)
- (CHALLENGE) Add a Markdown comment (
<!-- ... -->) with a tip for the submitter that won’t render in the final PR
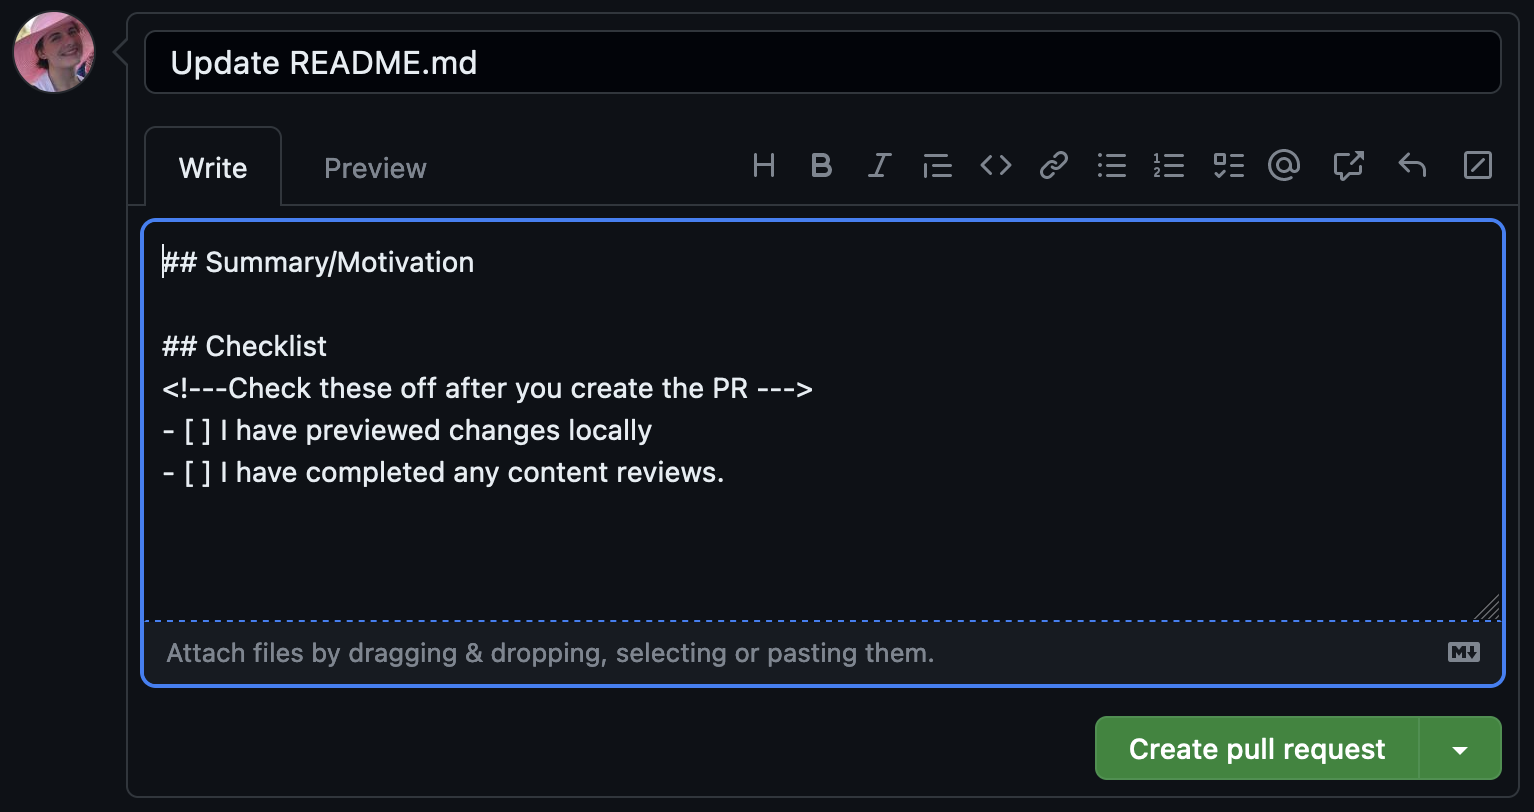
Now when a new PR is opened, the “Write” section will autofill with our template.
- Labelling PRs can help with prioritization and organization.
- PR Templates can provide clear instructions for steps, expectations, and more.
- GenAI can draft a PR template quickly — adjust it to fit your team.