Issue Templates
Overview
Teaching: 10 min
Exercises: 10 minQuestions
What are issue templates?
How do you make issue templates?
How do you customize the template chooser?
Objectives
Learn how to make issue templates.
Learn how to customize templates and their appearance.
What are Issue Templates?
Issue templates in GitHub are a way to pre-fill new issues with specific sections, data, instructions, etc.
They are customizable for every project. You can add as many templates as makes sense for your project, or you can have none at all.
In this episode, we will learn the basics of issue templates.
Default Issue Templates
GitHub has a quick start default feature for those wishing to use Issue Templates. This can be enabled through the graphical user interface.
Click on the “Settings” tab in your repository.

It will load to the “General settings” page, under which there is a “Feature” section. Here you will see “Issues” (already checkmarked) with a button to “Set up templates.”
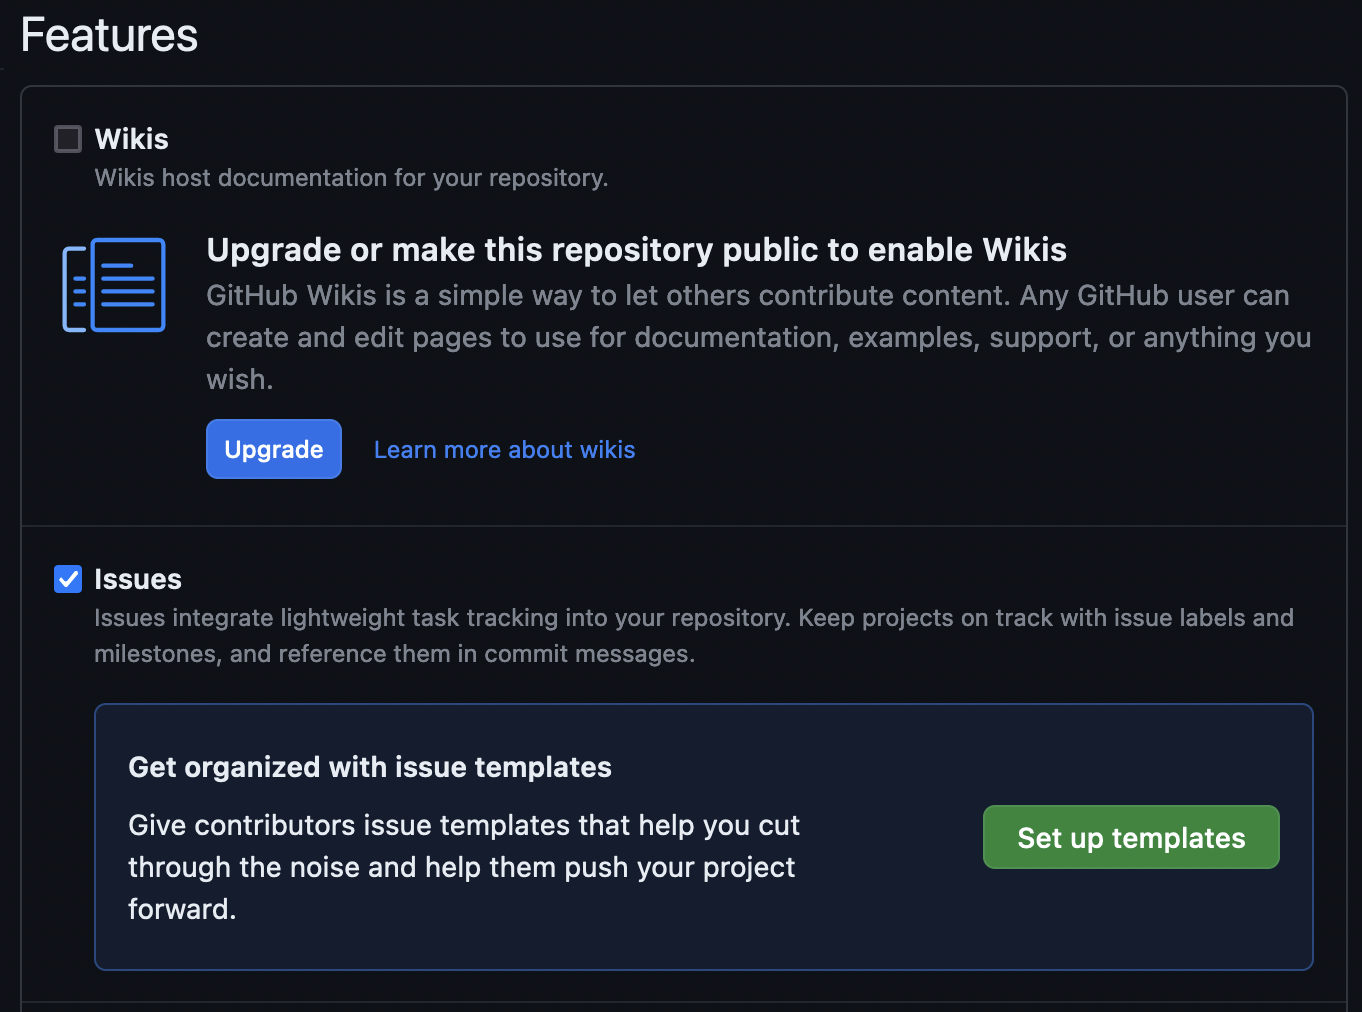
This will take you to a mostly blank screen on which there is an “Add template” dropdown with several options.
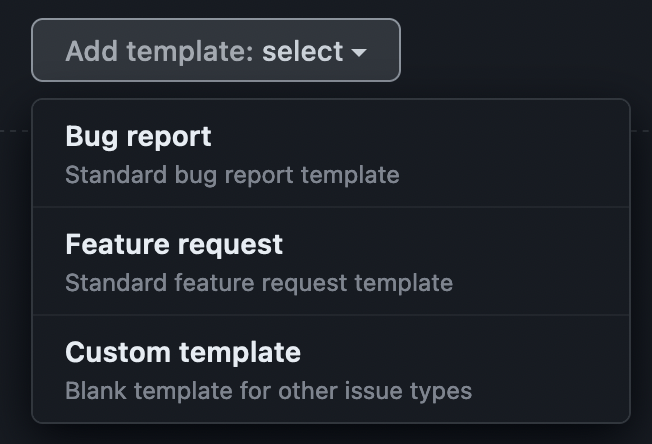
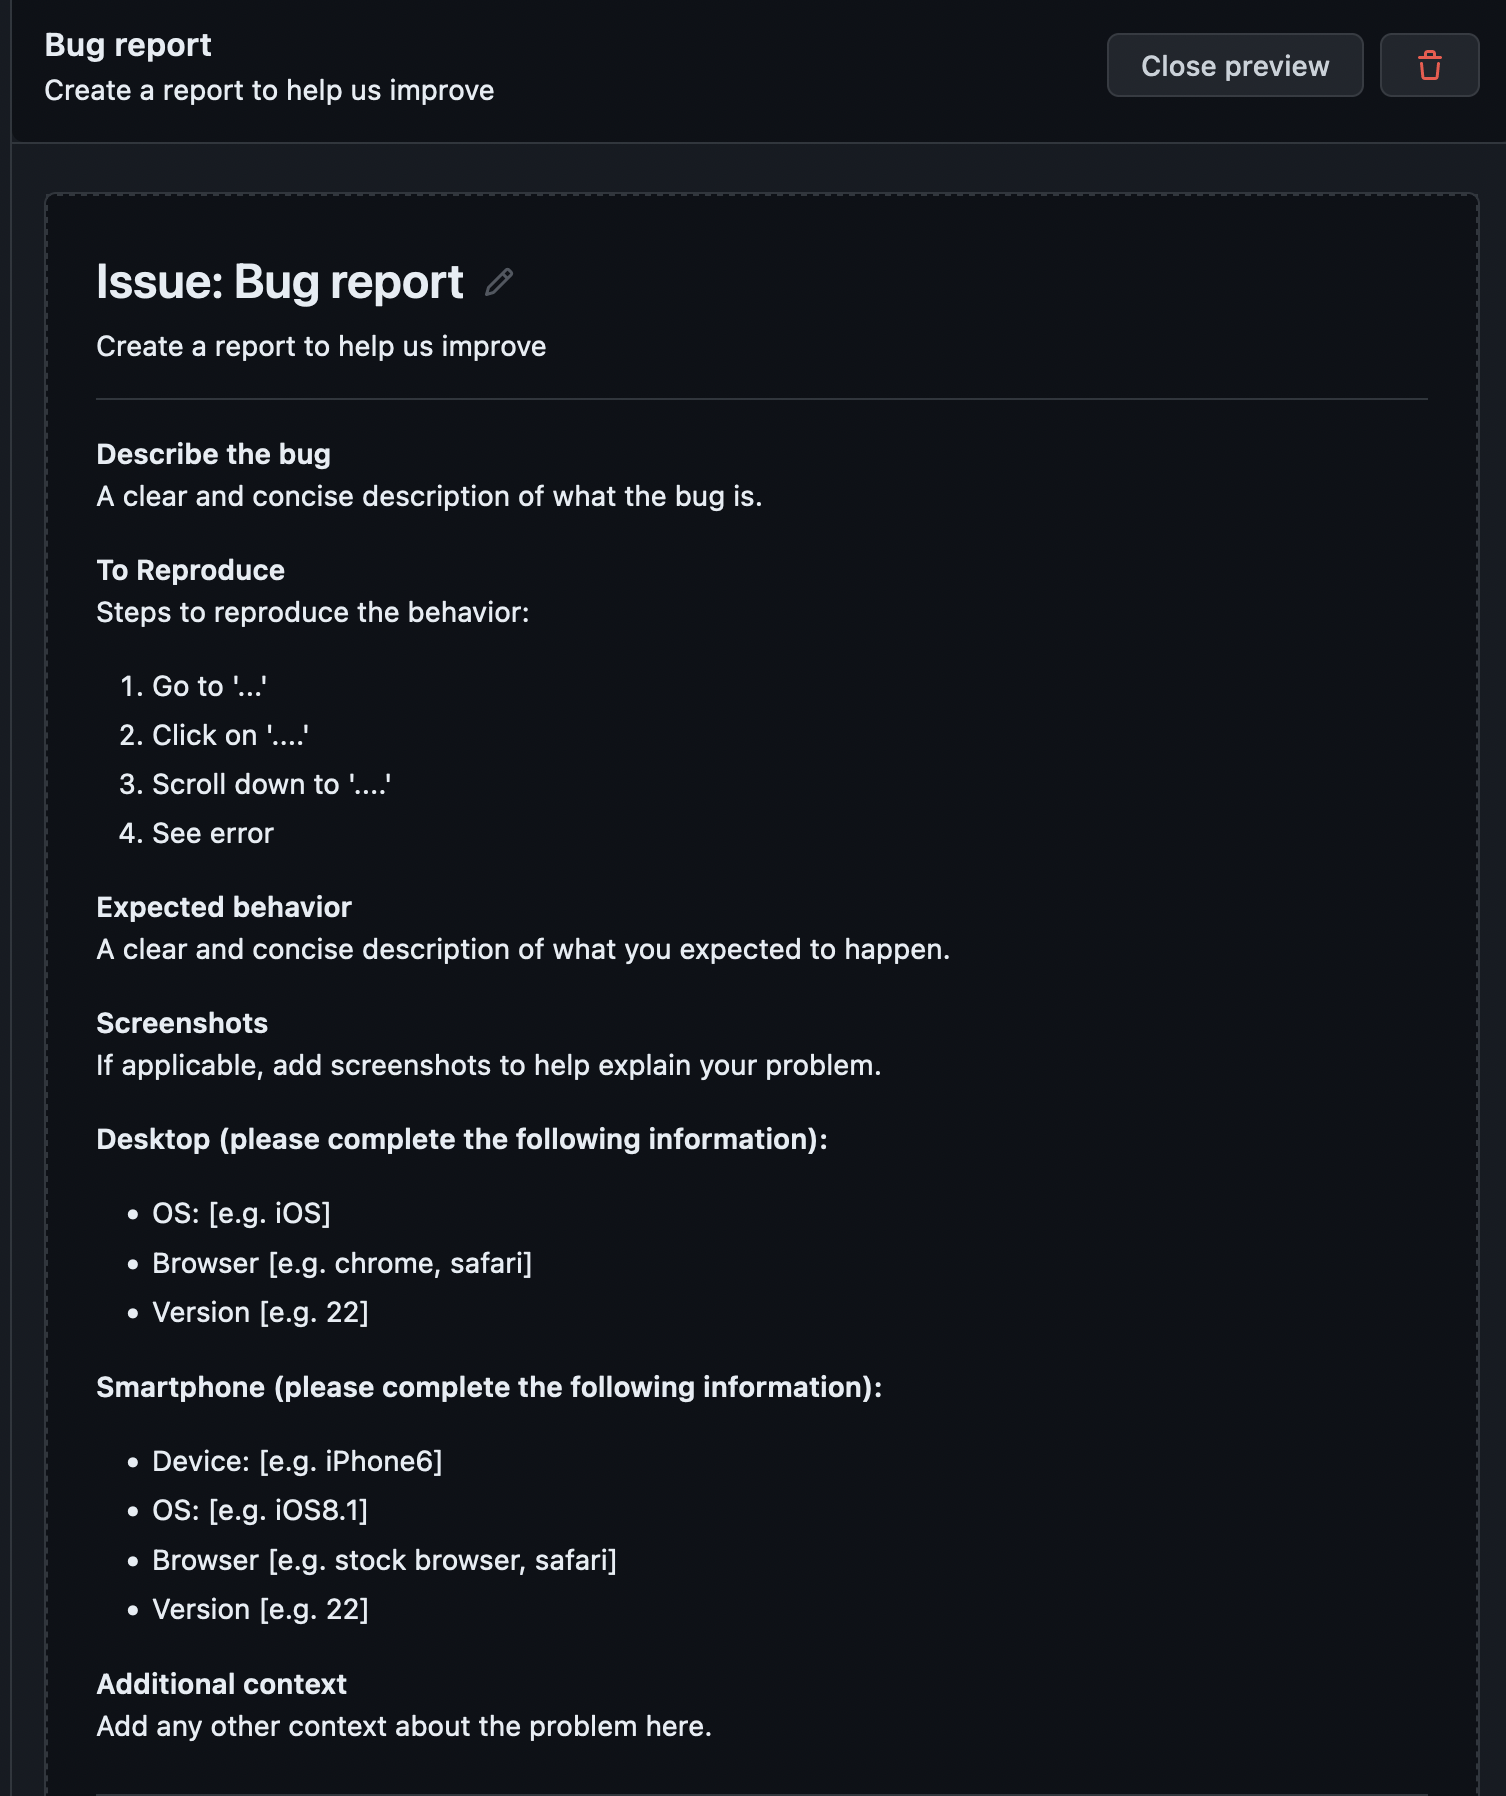
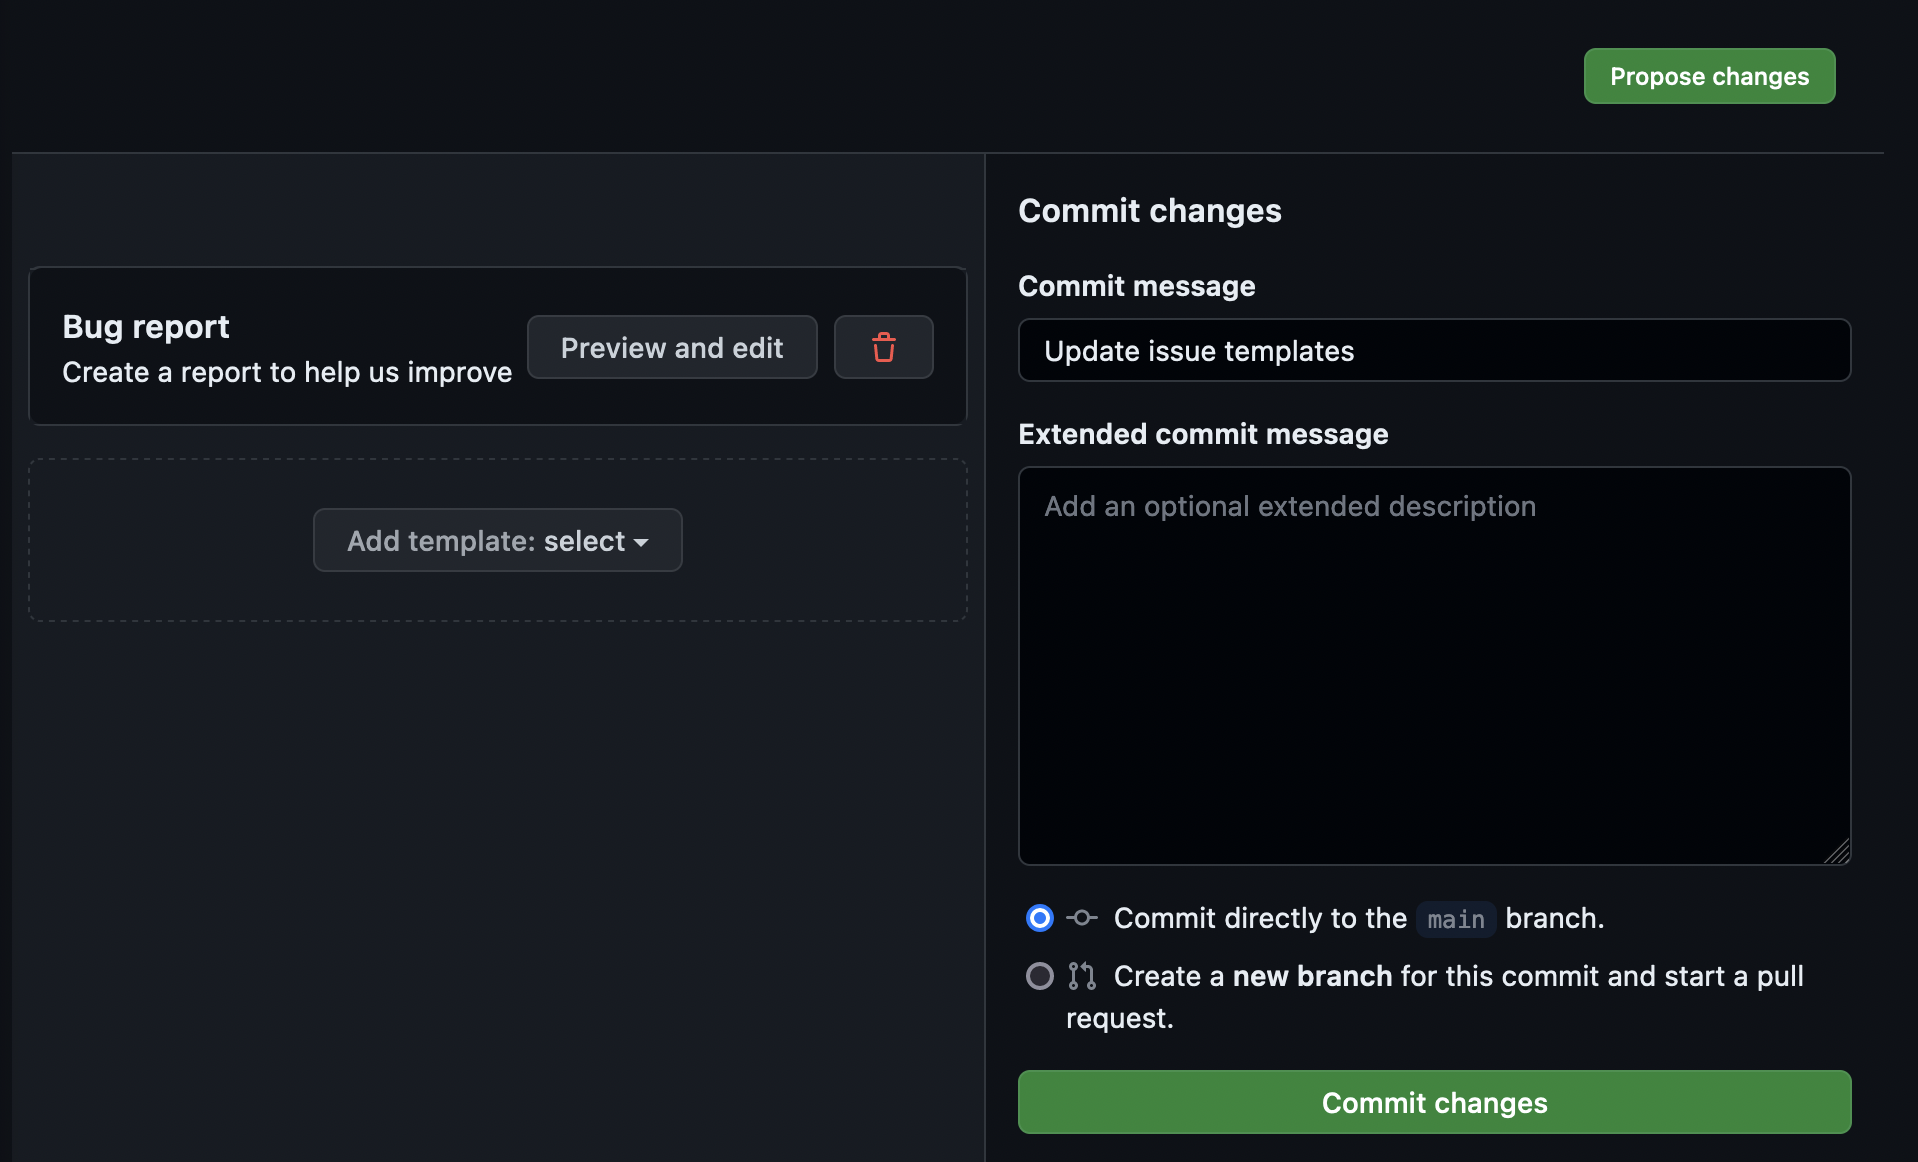
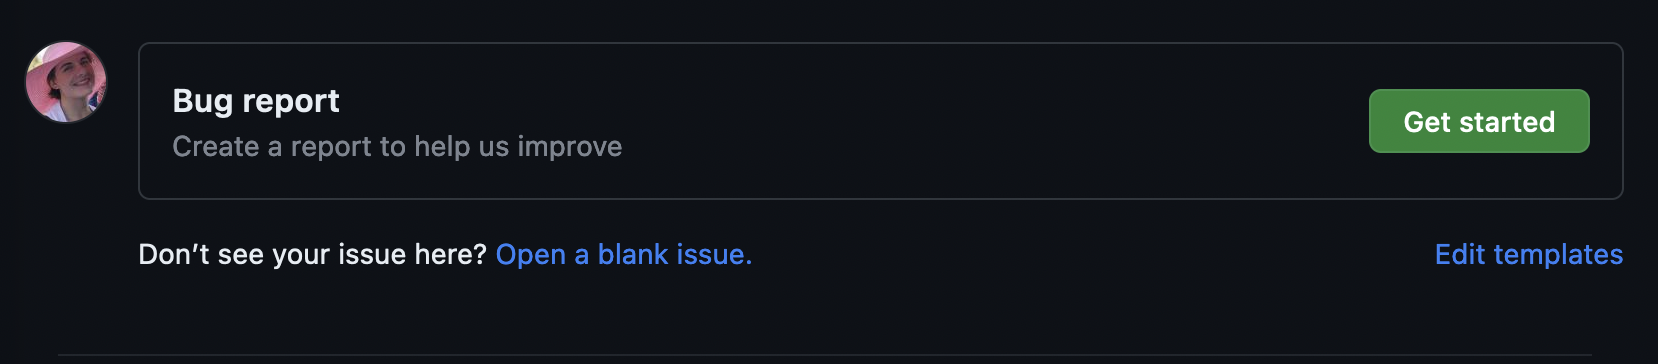
From this list, select “Bug report.” You will now see that the “Bug report” template shows up in the list of templates. Click “Preview and edit” to view the new template.
For now, we will leave this template as-is. To apply the new template to your repository, click the “Propose changes” button at the top of the page. This will load a commit message dialog box. Put whatever you desire in the commit message dialog box and commit the changes to your main branch.
If we navigate to the Issues page now and click “New issue”, the template is now available in our options.
New Feature
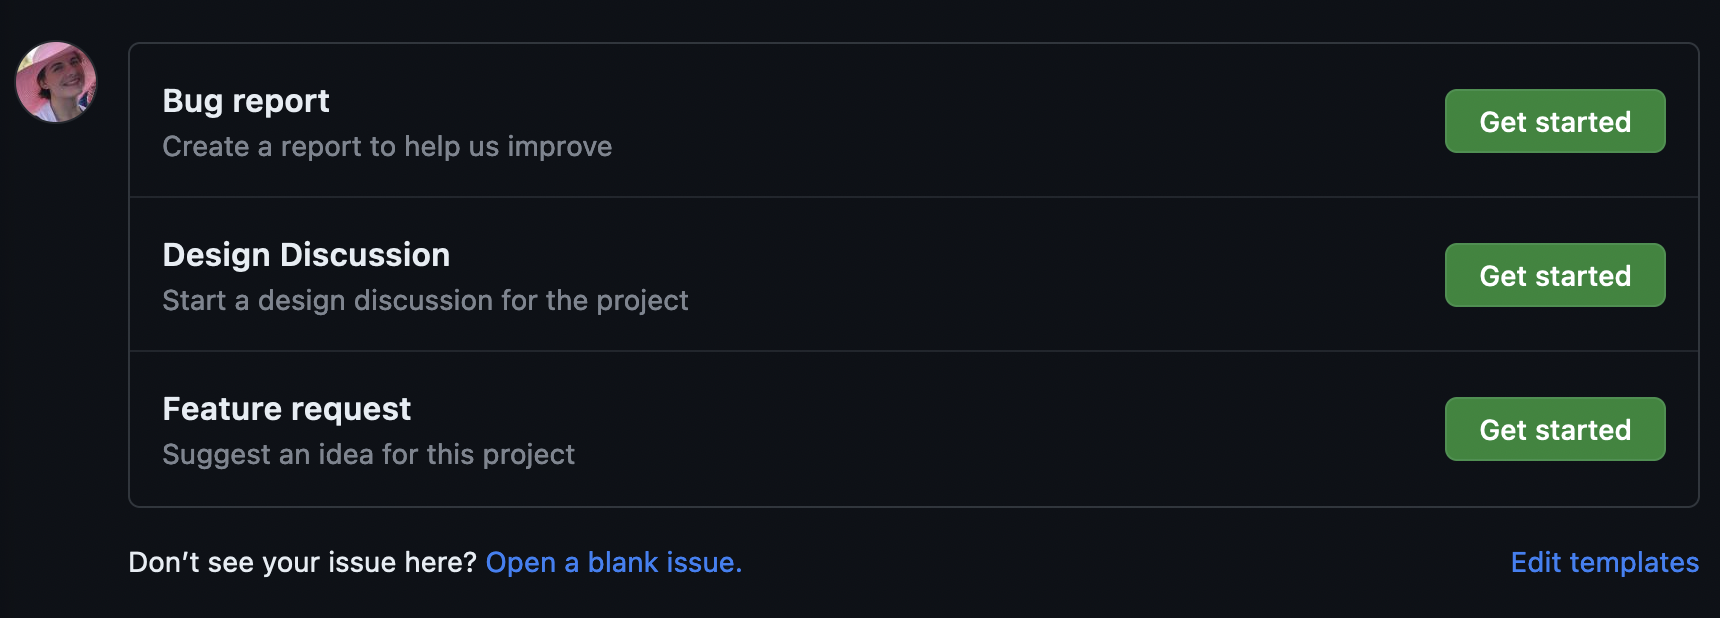
Using the same steps covered, add the “Feature request” default template to your repository.
Now open an issue for each new template, filling out the sections with whatever you’d like.
Custom Issue Templates
We now have templates for both bug reports and feature requests. For this project, however, we also want to create a template for Design Discussions. Let’s make this custom template.
When we created our first template, GitHub did the setup for us. If you navigate back to your main page, you will see a new directory has been created.

This new directory is where all the issue templates are located. The directory
currently has two files: bug_report.md and feature_request.md. We are going
to make a new one called design_discussion.md.
Multiple Paths Available
We will do the rest of this lesson through the GUI; however, all of these steps can be done via command line and your preferred text editor. Do whatever feels right for you!
Issue Template Header
All issue templates start with a standard header that controls the appearance of the issue in GitHub. For our custom template, we will use:
---
name: Design Discussion
about: Start a design discussion for the project
title: ''
labels: ''
assignees: ''

---
| Option | Purpose |
|---|---|
name |
The name of the issue template, as it appears on the “New issue” page |
about |
The description of the use of this template, as it appears on the “New issue” page |
title |
A default title to be applied to a new issue opened using this template |
labels |
Default labels to be applied to a new issue opened using this template |
assignees |
Default assignees to be assigned to a new issue opened using this template |
Issue Template Content
Following this header, we can add whatever other data or sections we desire, formatting the template using Markdown.
Discussion Section
Finish the “Design Discussion” template by adding the following sections:
- Description
- Motivation
Then commit the changes directly to your main branch.
We now have three issue templates available for use.
Incorporate External Links
Many projects have external websites or extra ways to get help outside of GitHub. Your project may, for example, have a Google Forum or a mailing list.
You can incorporate these into the “Template Chooser” page by using a
config.yml file in the .github/ISSUE_TEMPLATE directory.
The config.yml file can have two different options:
blank_issues_enabled: # false or true
contact_links:
  - name: NAME
    url: LINK
    about: DESCRIPTION
The first option, blank_issues_enabled, controls whether a user is allowed
to open a blank issue if one of the provided templates doesn’t quite fit their
need.
The second option, contact_links, allows you to list links to external sites
that will show up in the template chooser.
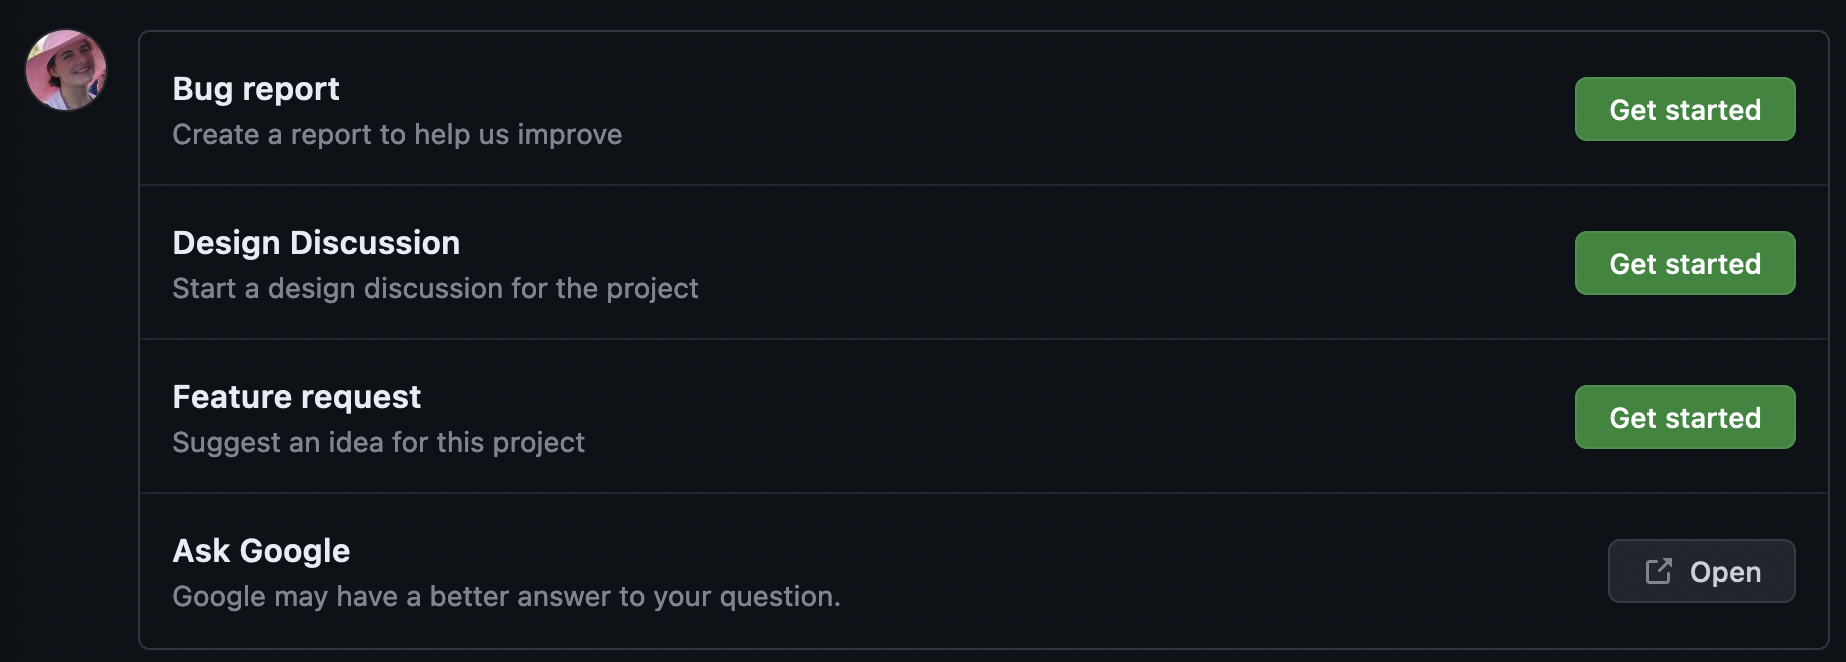
Ask Google
Create a
config.ymlfor your repository. In theconfig.yml:
- Enable blank issues
- Create a link with the name, “Ask Google,” a link to www.google.com, and the description, “Google may know your answer.”
Then commit the changes directly to your main branch.
Our template chooser now has our three templates and a link to Google.
And that’s all, folks! You now know much more about GitHub Issues.
Key Points
Templates can be incorporated into any GitHub repository and can make issue creation more structured.
External links can be listed with the templates to help direct users to external resources.