Image 1 of 1: ‘Graph diagram of nodes/circles and edges/arrows representing repository state. Each horizontal path is a branch. The first shows a single path representing a repository with a single main branch, the second has two branches, a main and a feature branch, and the third has three branches, a main and two feature branches.’
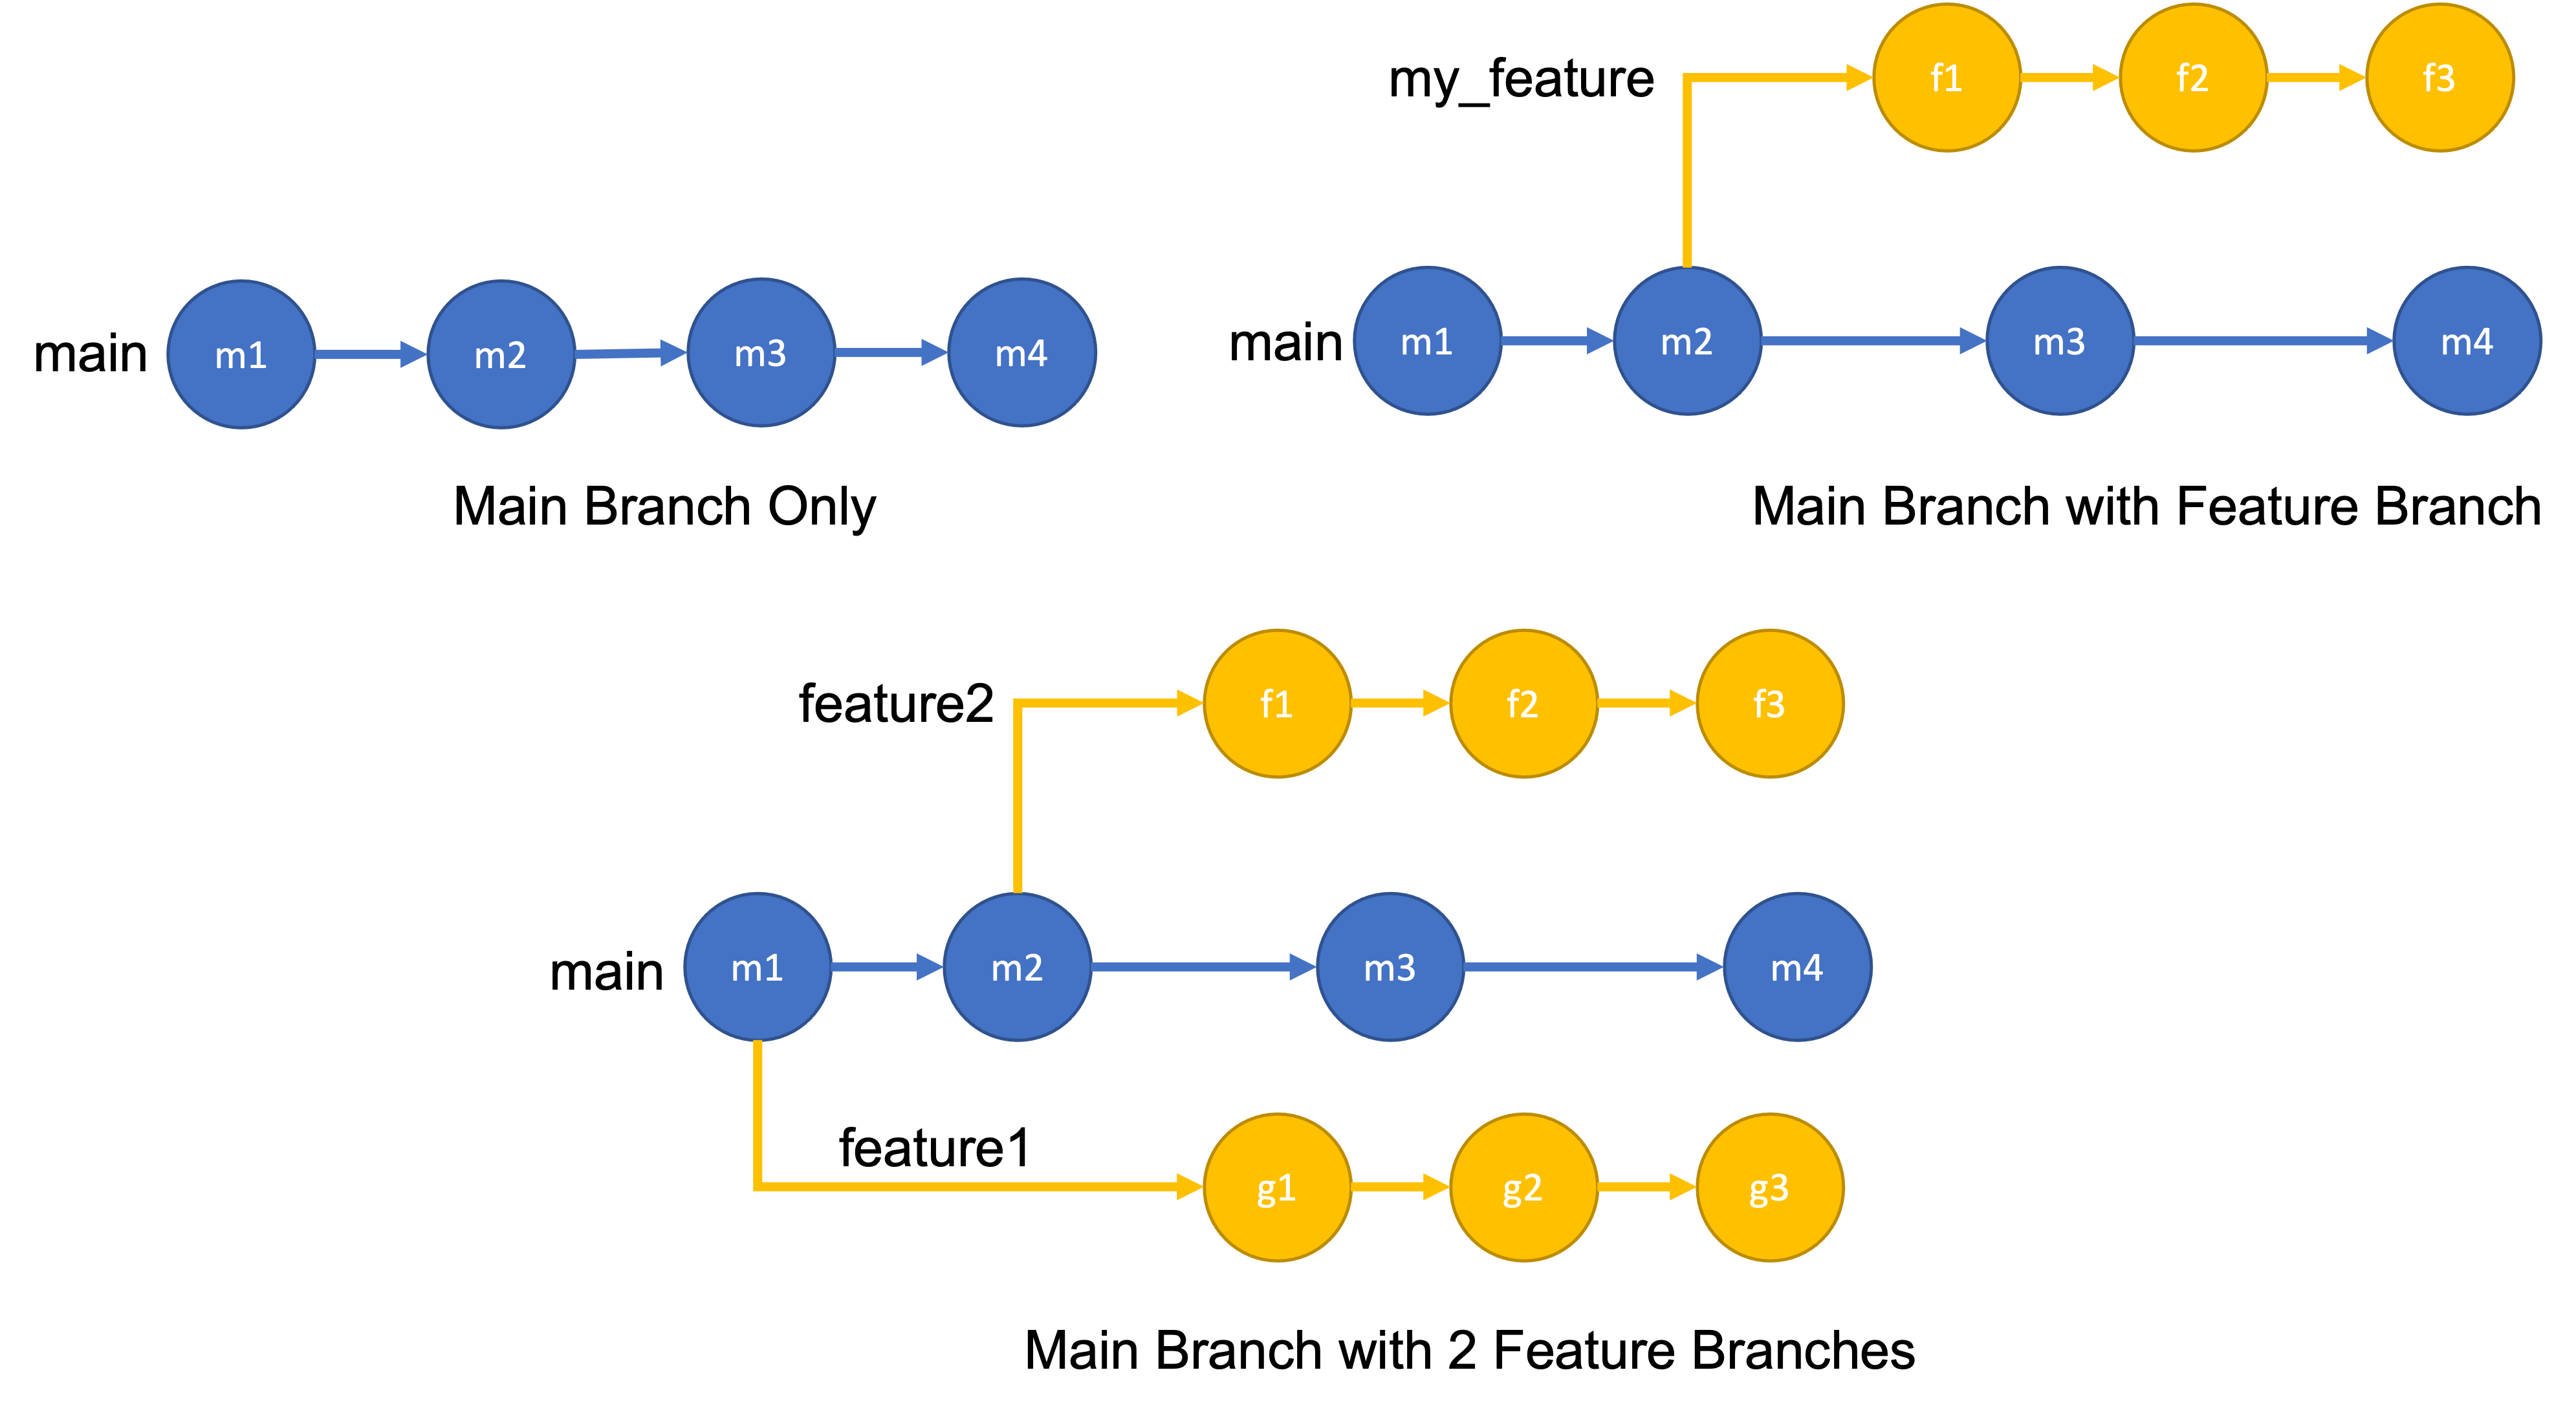
These graph diagrams show repositories with
different numbers of branches. The vertices, or circles, in these graphs
show different commits, and each horizontal path is a branch. The first
shows a repository with 1 main branch, the second a repository with 1
main and 1 feature branch, and the third repository 1 main and 2 feature
branches.
Figure 2
Image 1 of 1: ‘Figure showing the process of creating a branch. From left to right: a repository with two commits on the main branch, followed by an arrow with the text "git checkout -b my_branch" followed by the same repository with the new feature branch added. A star is used on each repository to show which commit you are on, the first has it on the second commit in the main branch, the second on the first commit of the feature branch.’
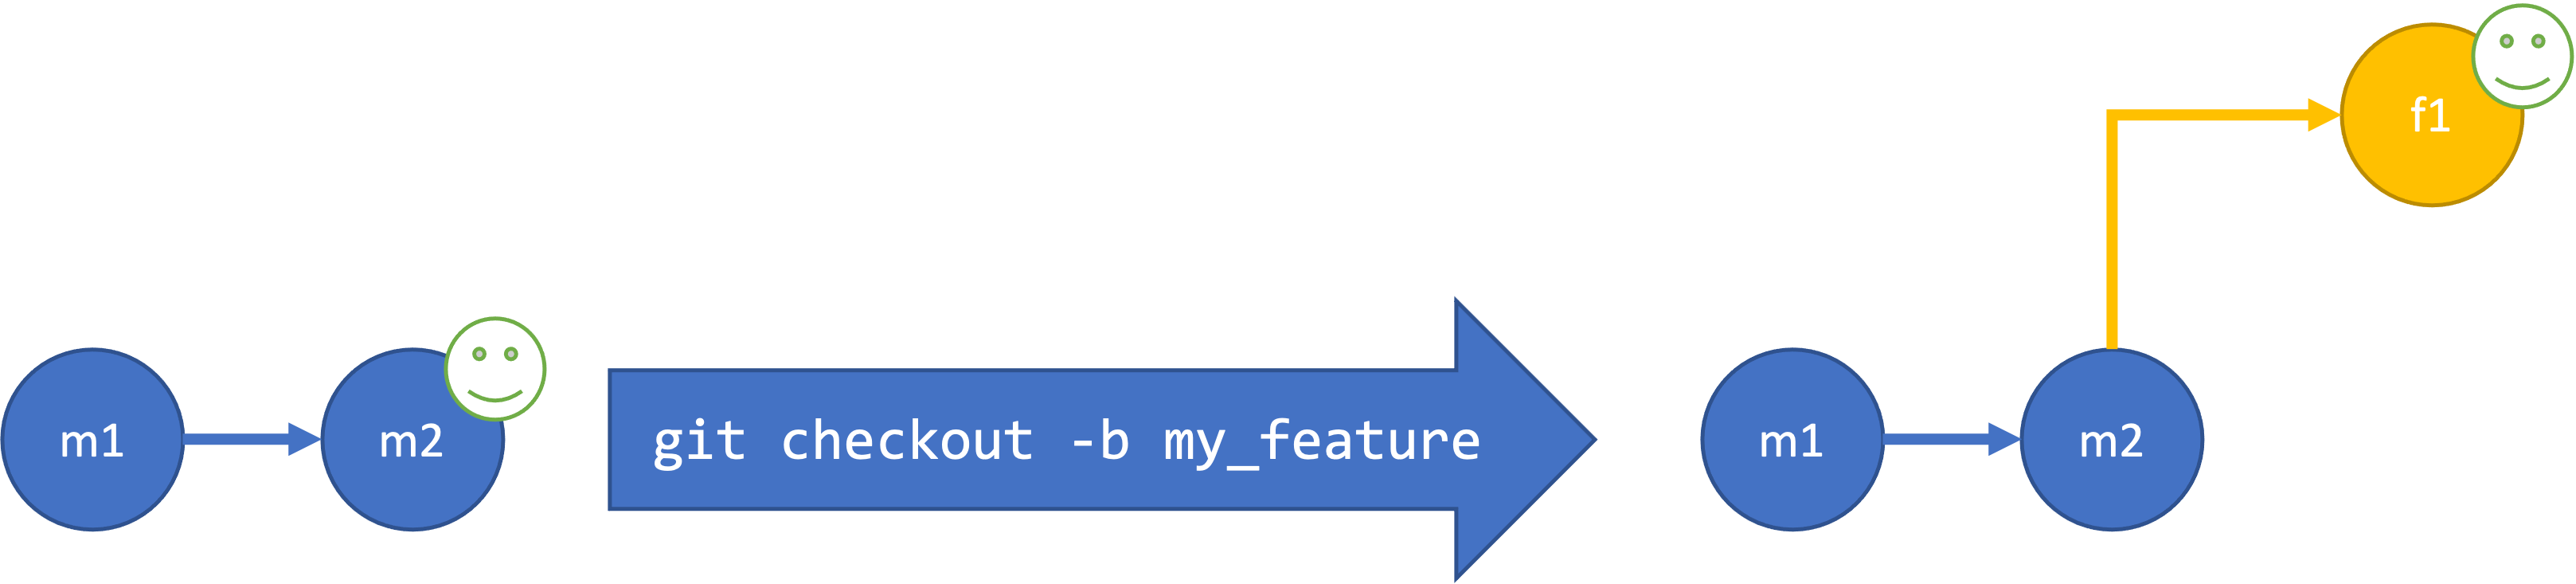
Creating a new branch. When you run
git checkout -b my_branch your new branch gets created and
checked out, meaning you are now on your new branch (represented by the
star). Any commits you make will be on this branch until you checkout
another one.
Figure 3
Image 1 of 1: ‘Figure showing creating commits on a branch. From left to right: a repository with two commits on the main branch and one on a feature branch, followed by an arrow with the text "git commit (x2)", followed by the same repository with to additional commits on the feature branch. A star is used on each diagram to show where you are in the repository, each on the last commit on the feature branch.’
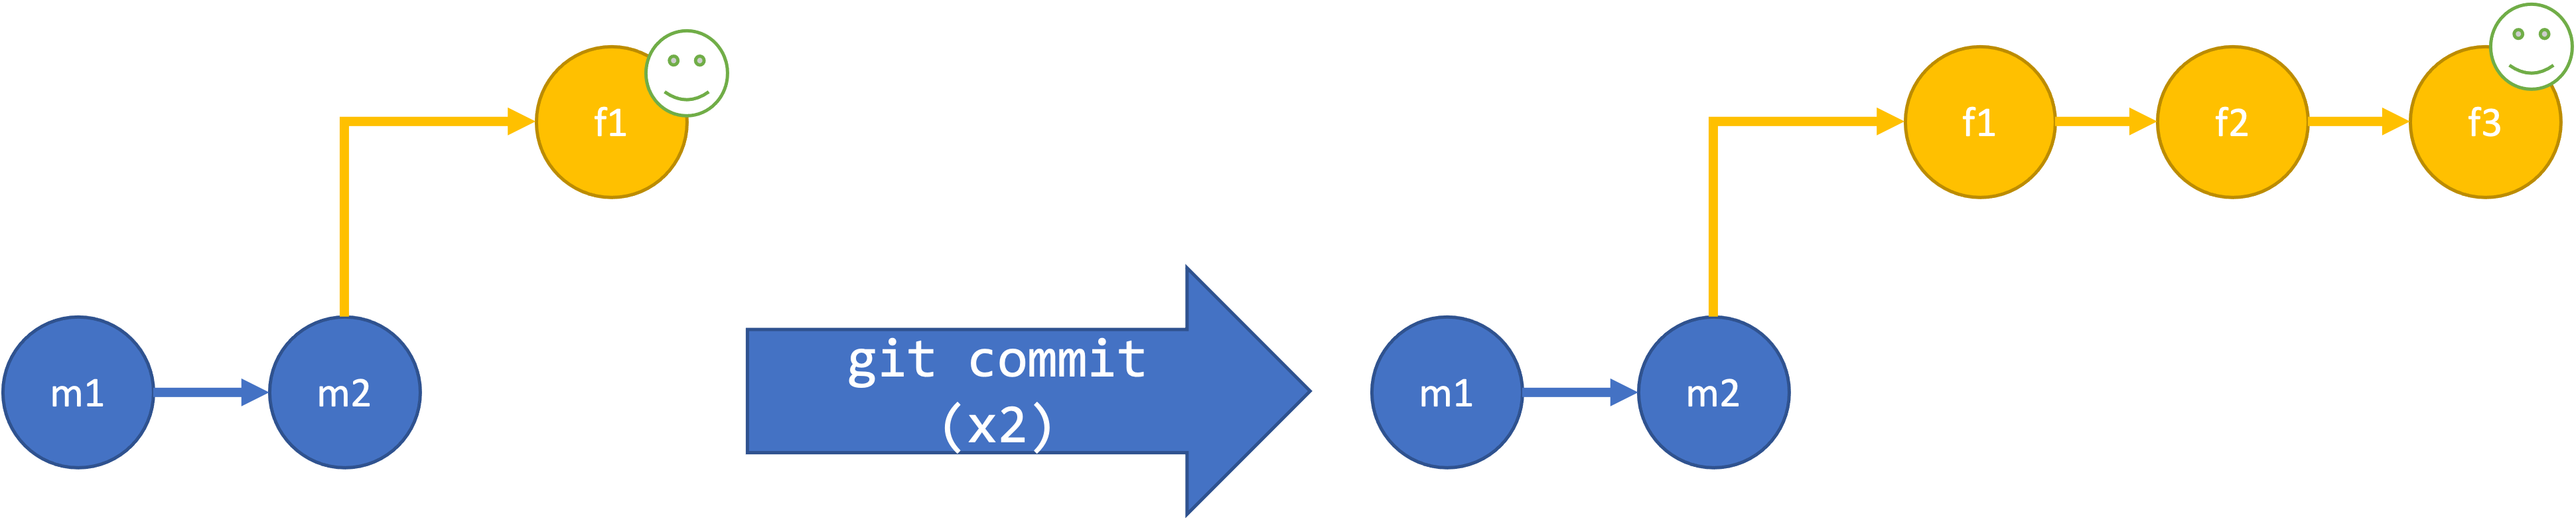
Every time you run the git commit
command the commit will be added to your current branch.
Figure 4
Image 1 of 1: ‘Figure showing The process of changing, or checking out a branch. From left to right: a repository with two commits on the main branch and three on the feature branch with current location on the third commit of the feature branch, followed by an arrow with the text "git checkout main”, followed by the same repository with the current location now on the second commit in the main branch.’
Switching branches using
git checkout.
Figure 5
Image 1 of 1: ‘Figure showing the process of merging the main branch into the feature branch. On the top is a repository with a main and feature branch. The feature branch starts at the second commit on the main branch and has three commits, and the main branch has an additional two commits after the split. The current location is the third commit of the feature branch. Below is an arrow with the text "git merge main" followed by the same repository with a new arrow from the last commit on the main branch to a new commit on the feature branch, showing the changes from the main branch have been merged into the changes on the feature branch.’
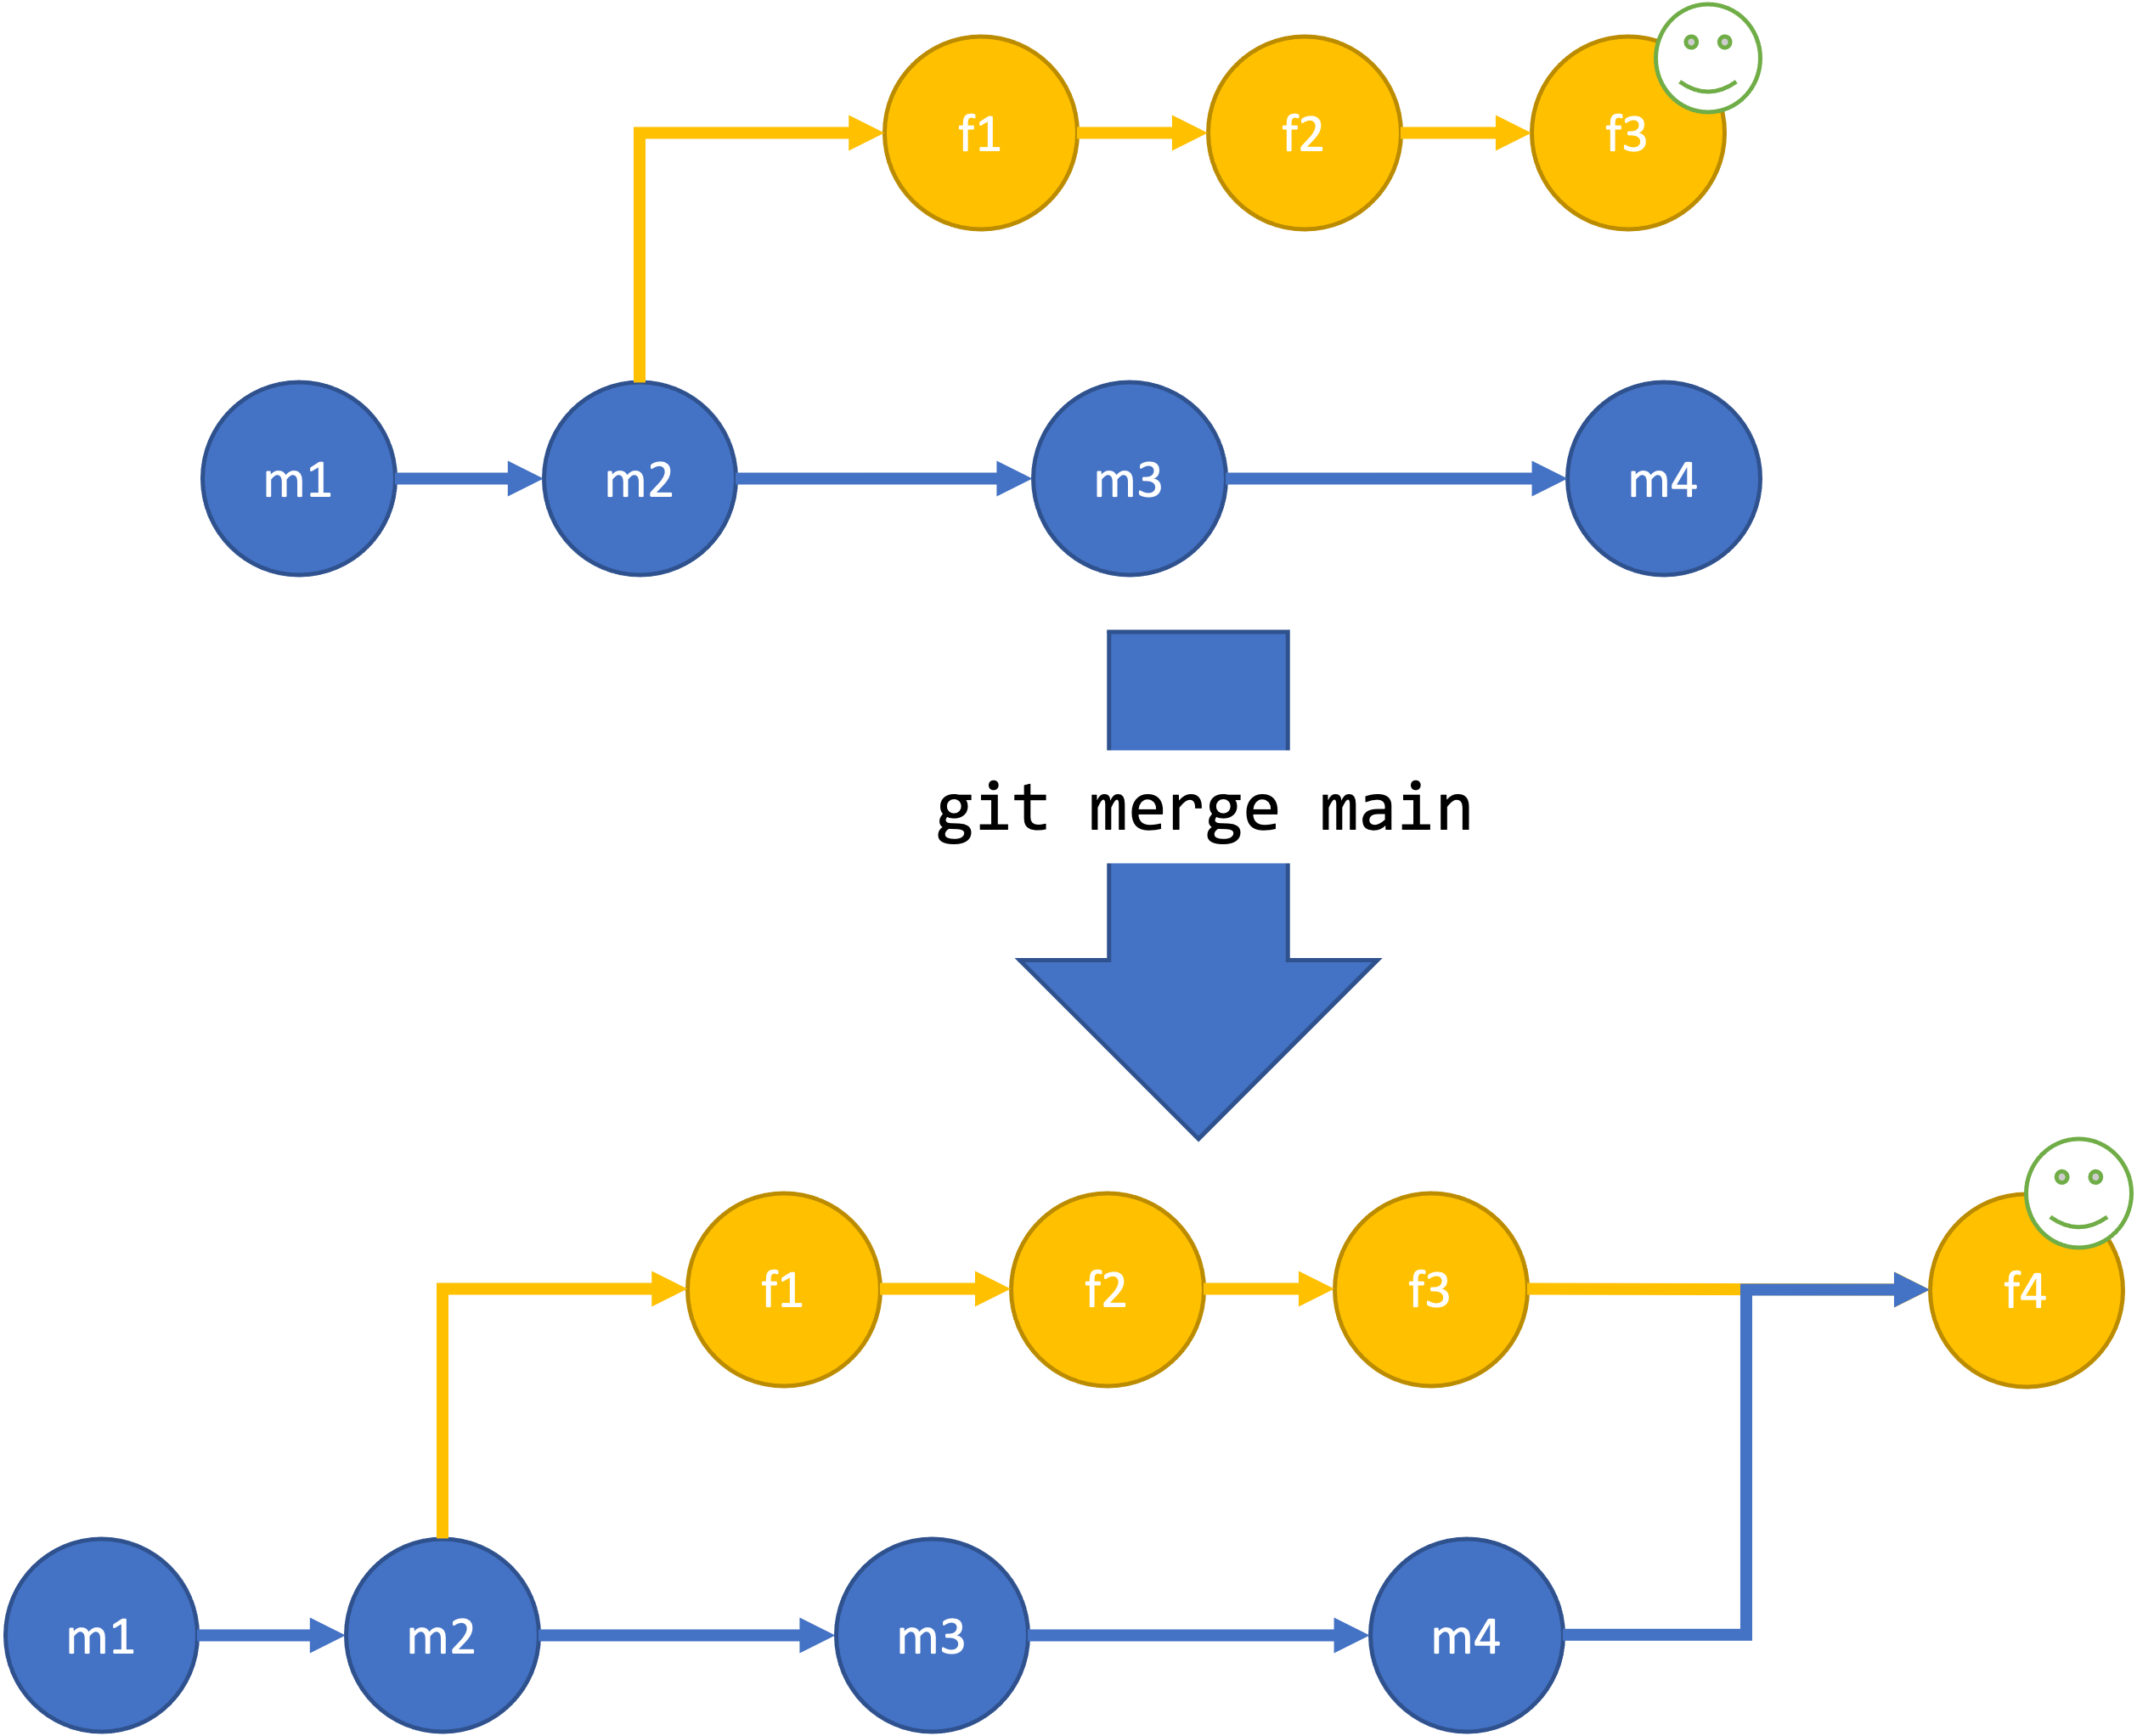
Merging new commits from the main branch into
the feature branch with git merge main.
Figure 6
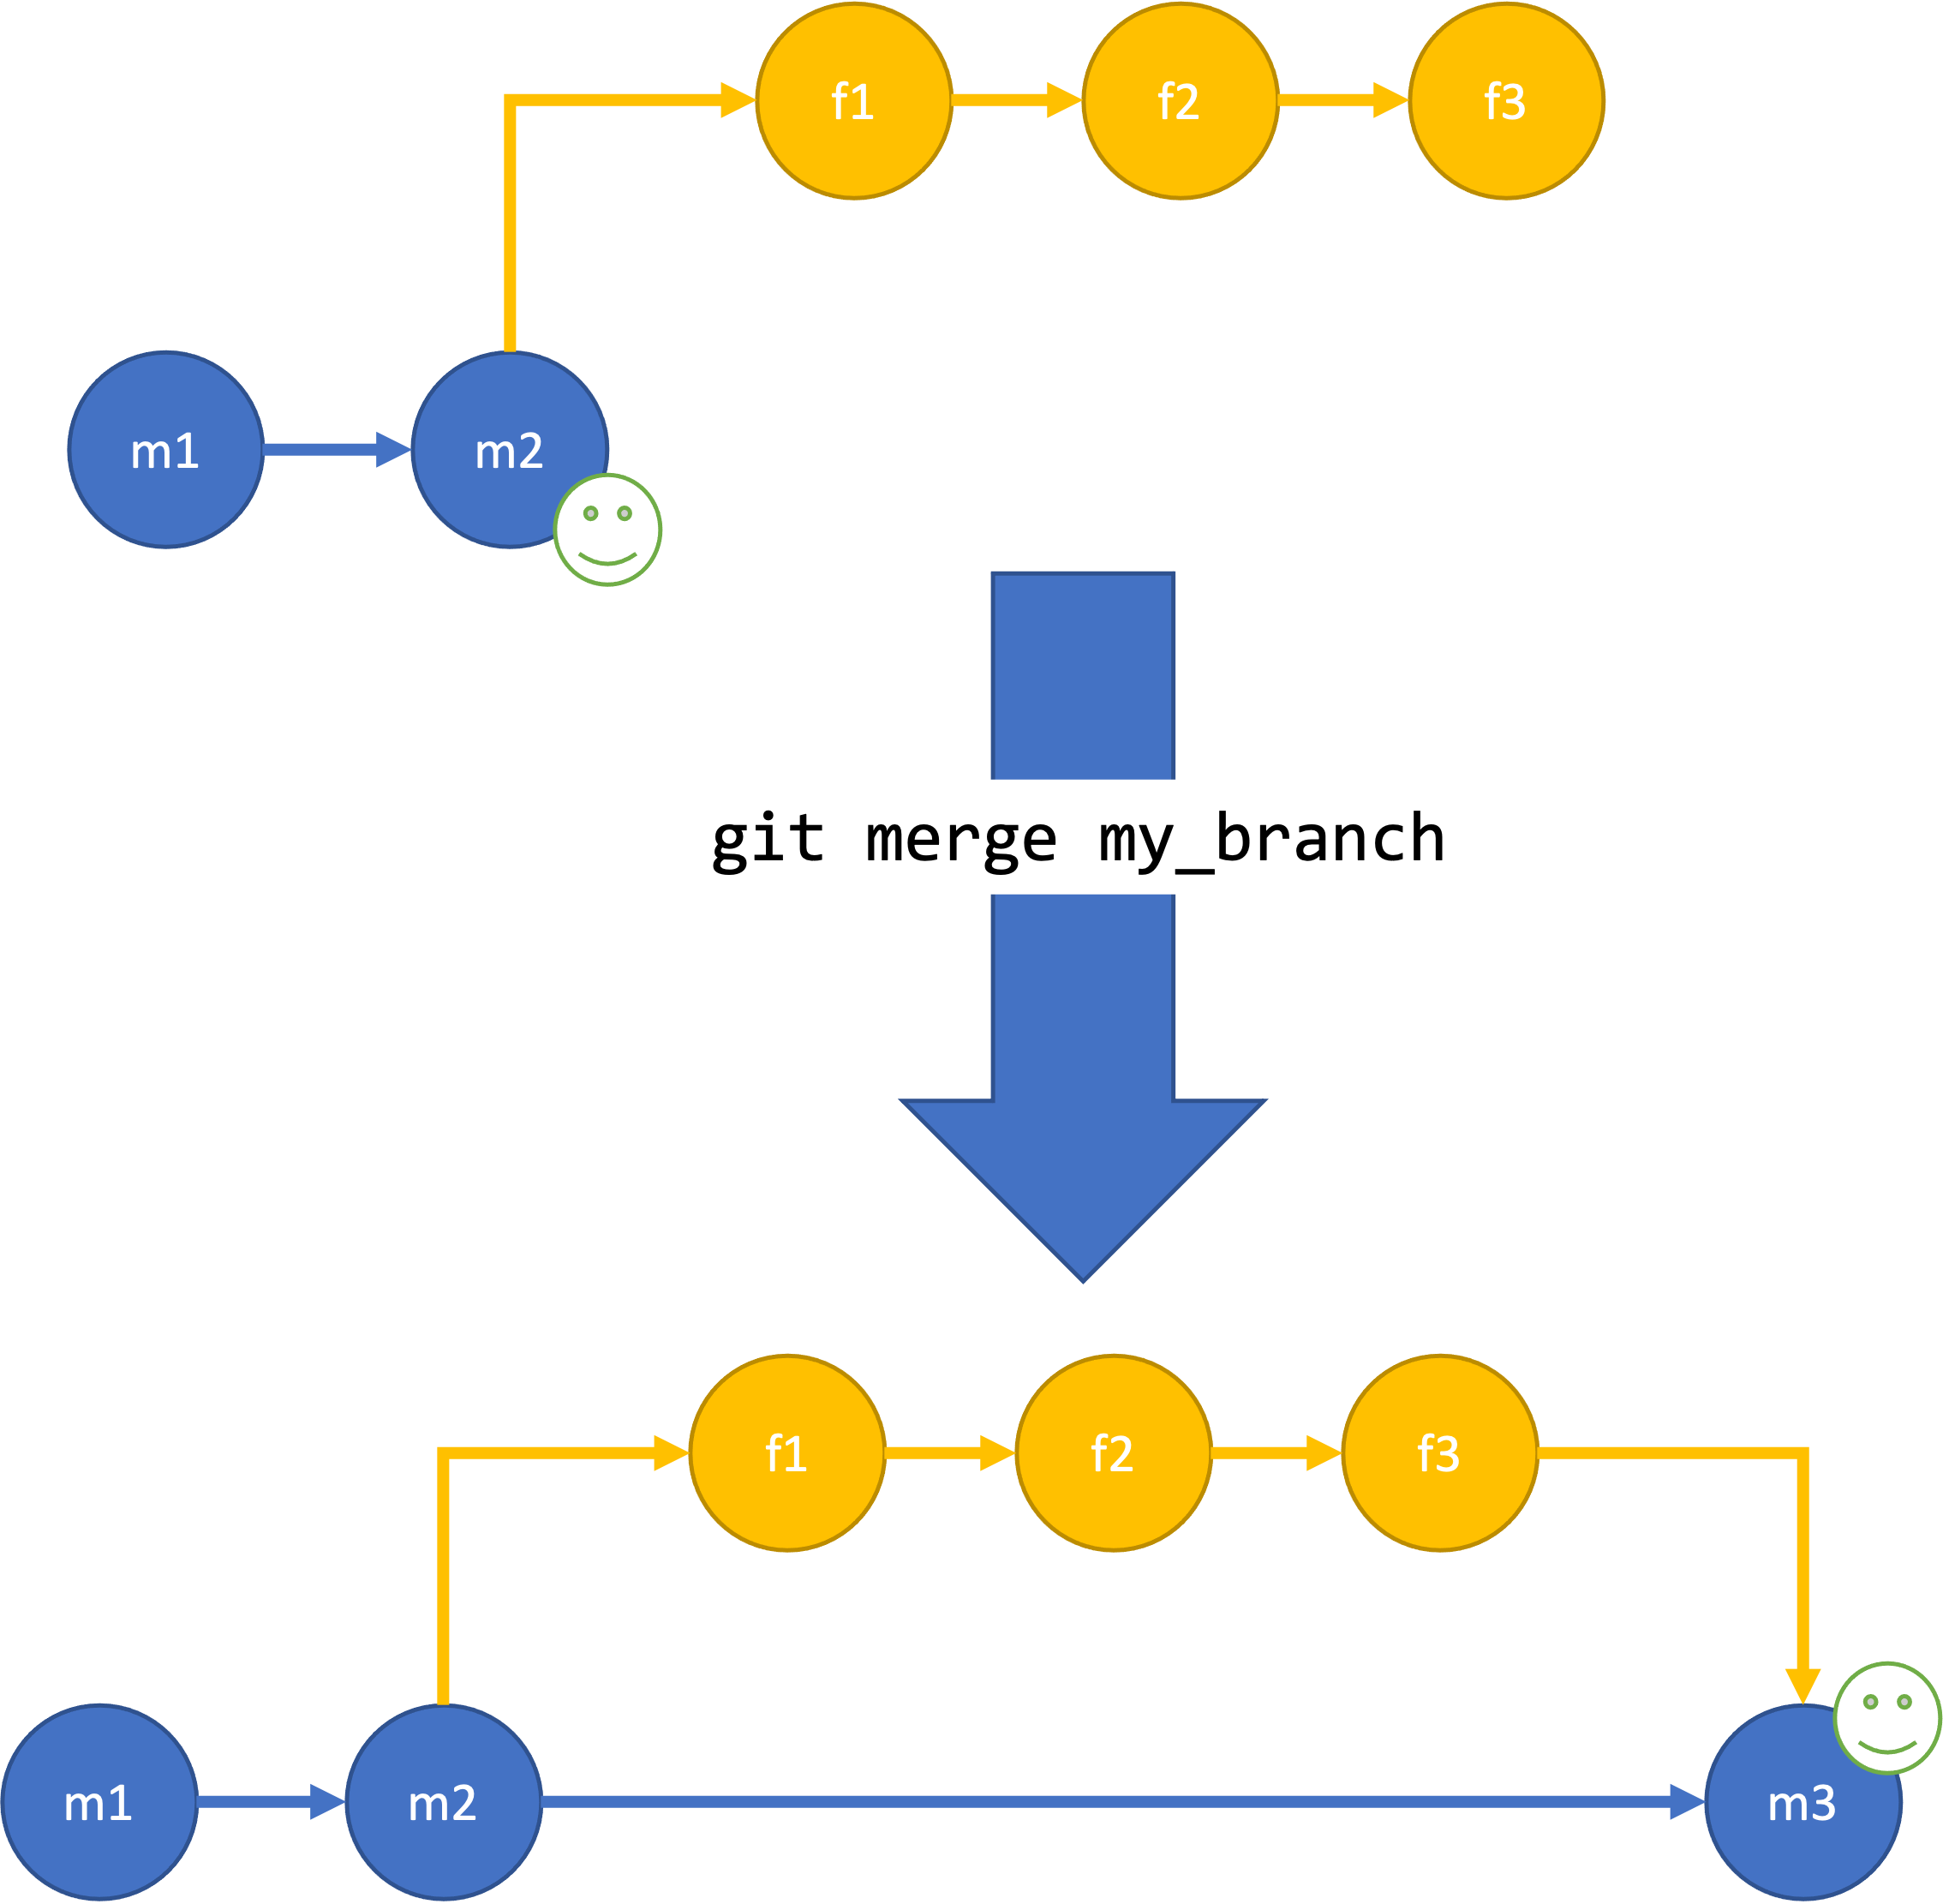
Image 1 of 1: ‘Figure showing the process of merging the feature branch into the main branch. On the top is a repository with a main and feature branch. The feature branch starts at the second commit on the main branch and has three commits. The current location is on the second commit of the main branch. Below is an arrow with the text "git merge my_branch" followed by the same repository with a new commit on the main branch that has two incoming arrows from the main and feature branches, showing the changes from the feature branch have been merged into main branch.’
Merging new commits the feature branch into the
main branch with git merge my_branch.
Figure 7
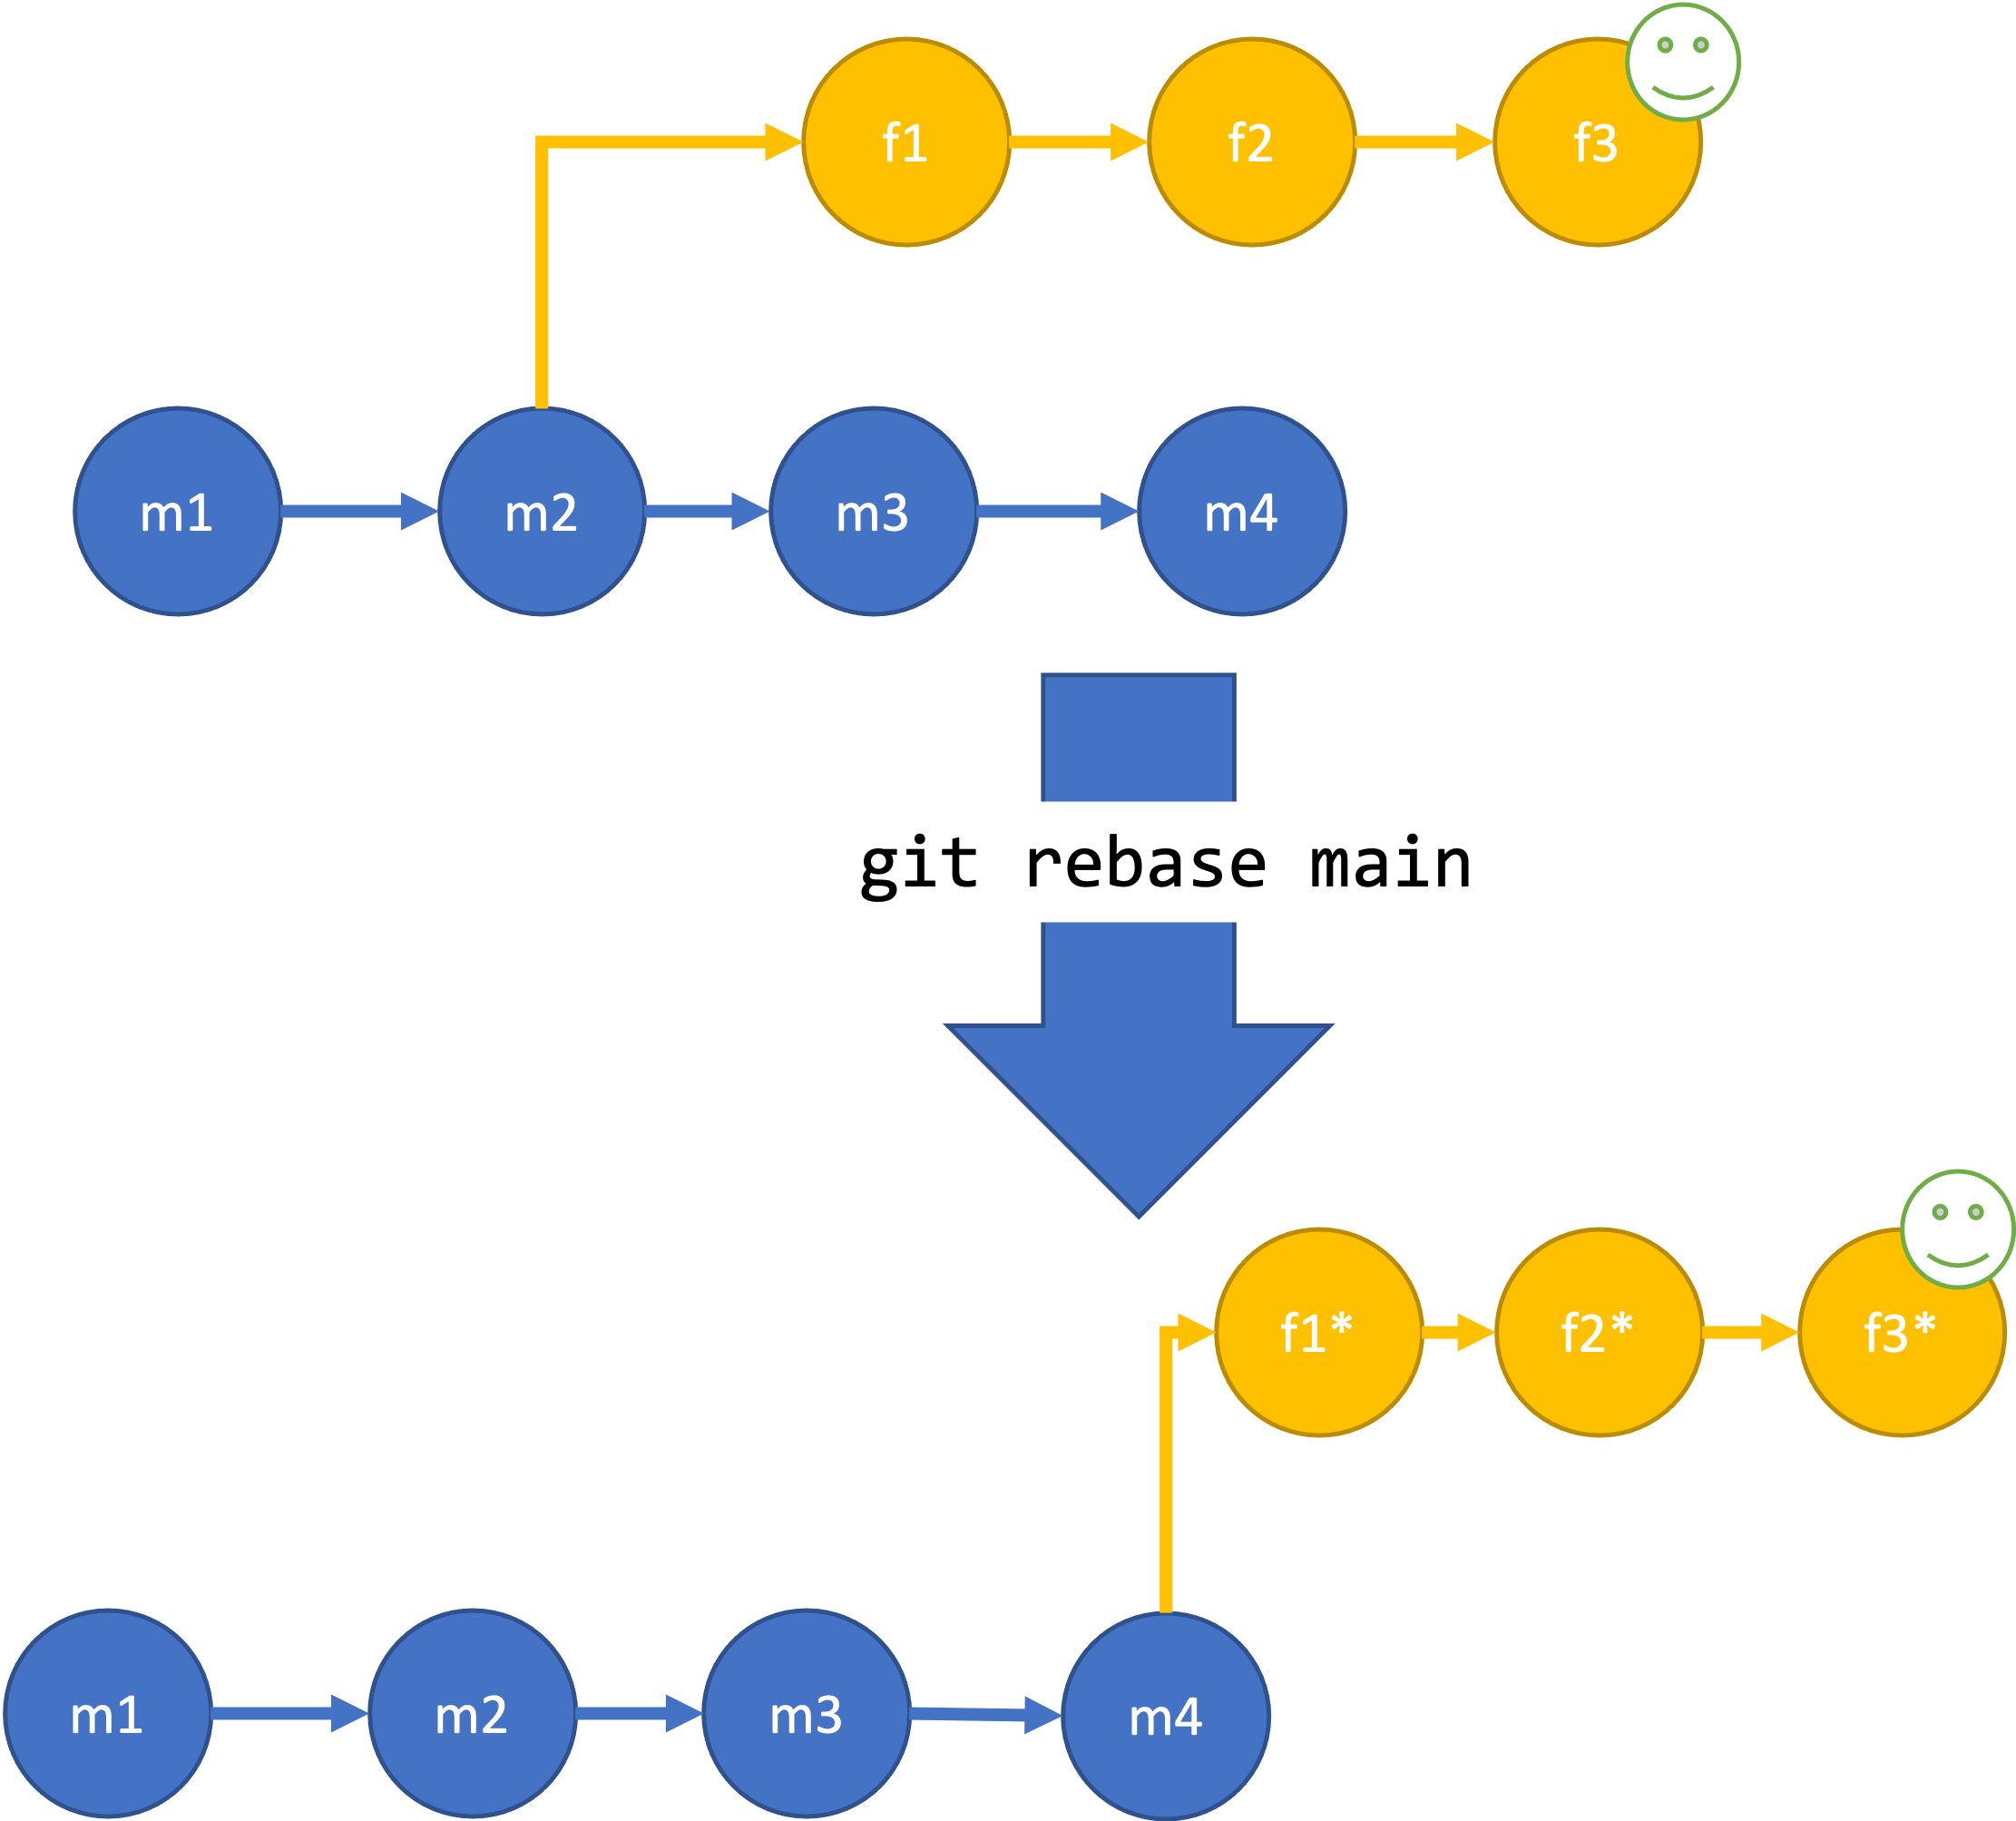
Image 1 of 1: ‘Figure showing the process of rebasing the feature branch onto new commits in the main branch. On the top is a repository with a main and feature branch. The feature branch has three commits and starts from the second commit of the main branch, which has two additinal commits after the split. The current location is on the third commit of the feature branch. Below is an arrow with the text "git rebase main" followed by the same repository, but the feature branch now splits off the fourth and last commit of the main branch.’
Rebasing the feature branch onto new commits in
the main branch with git rebase main.
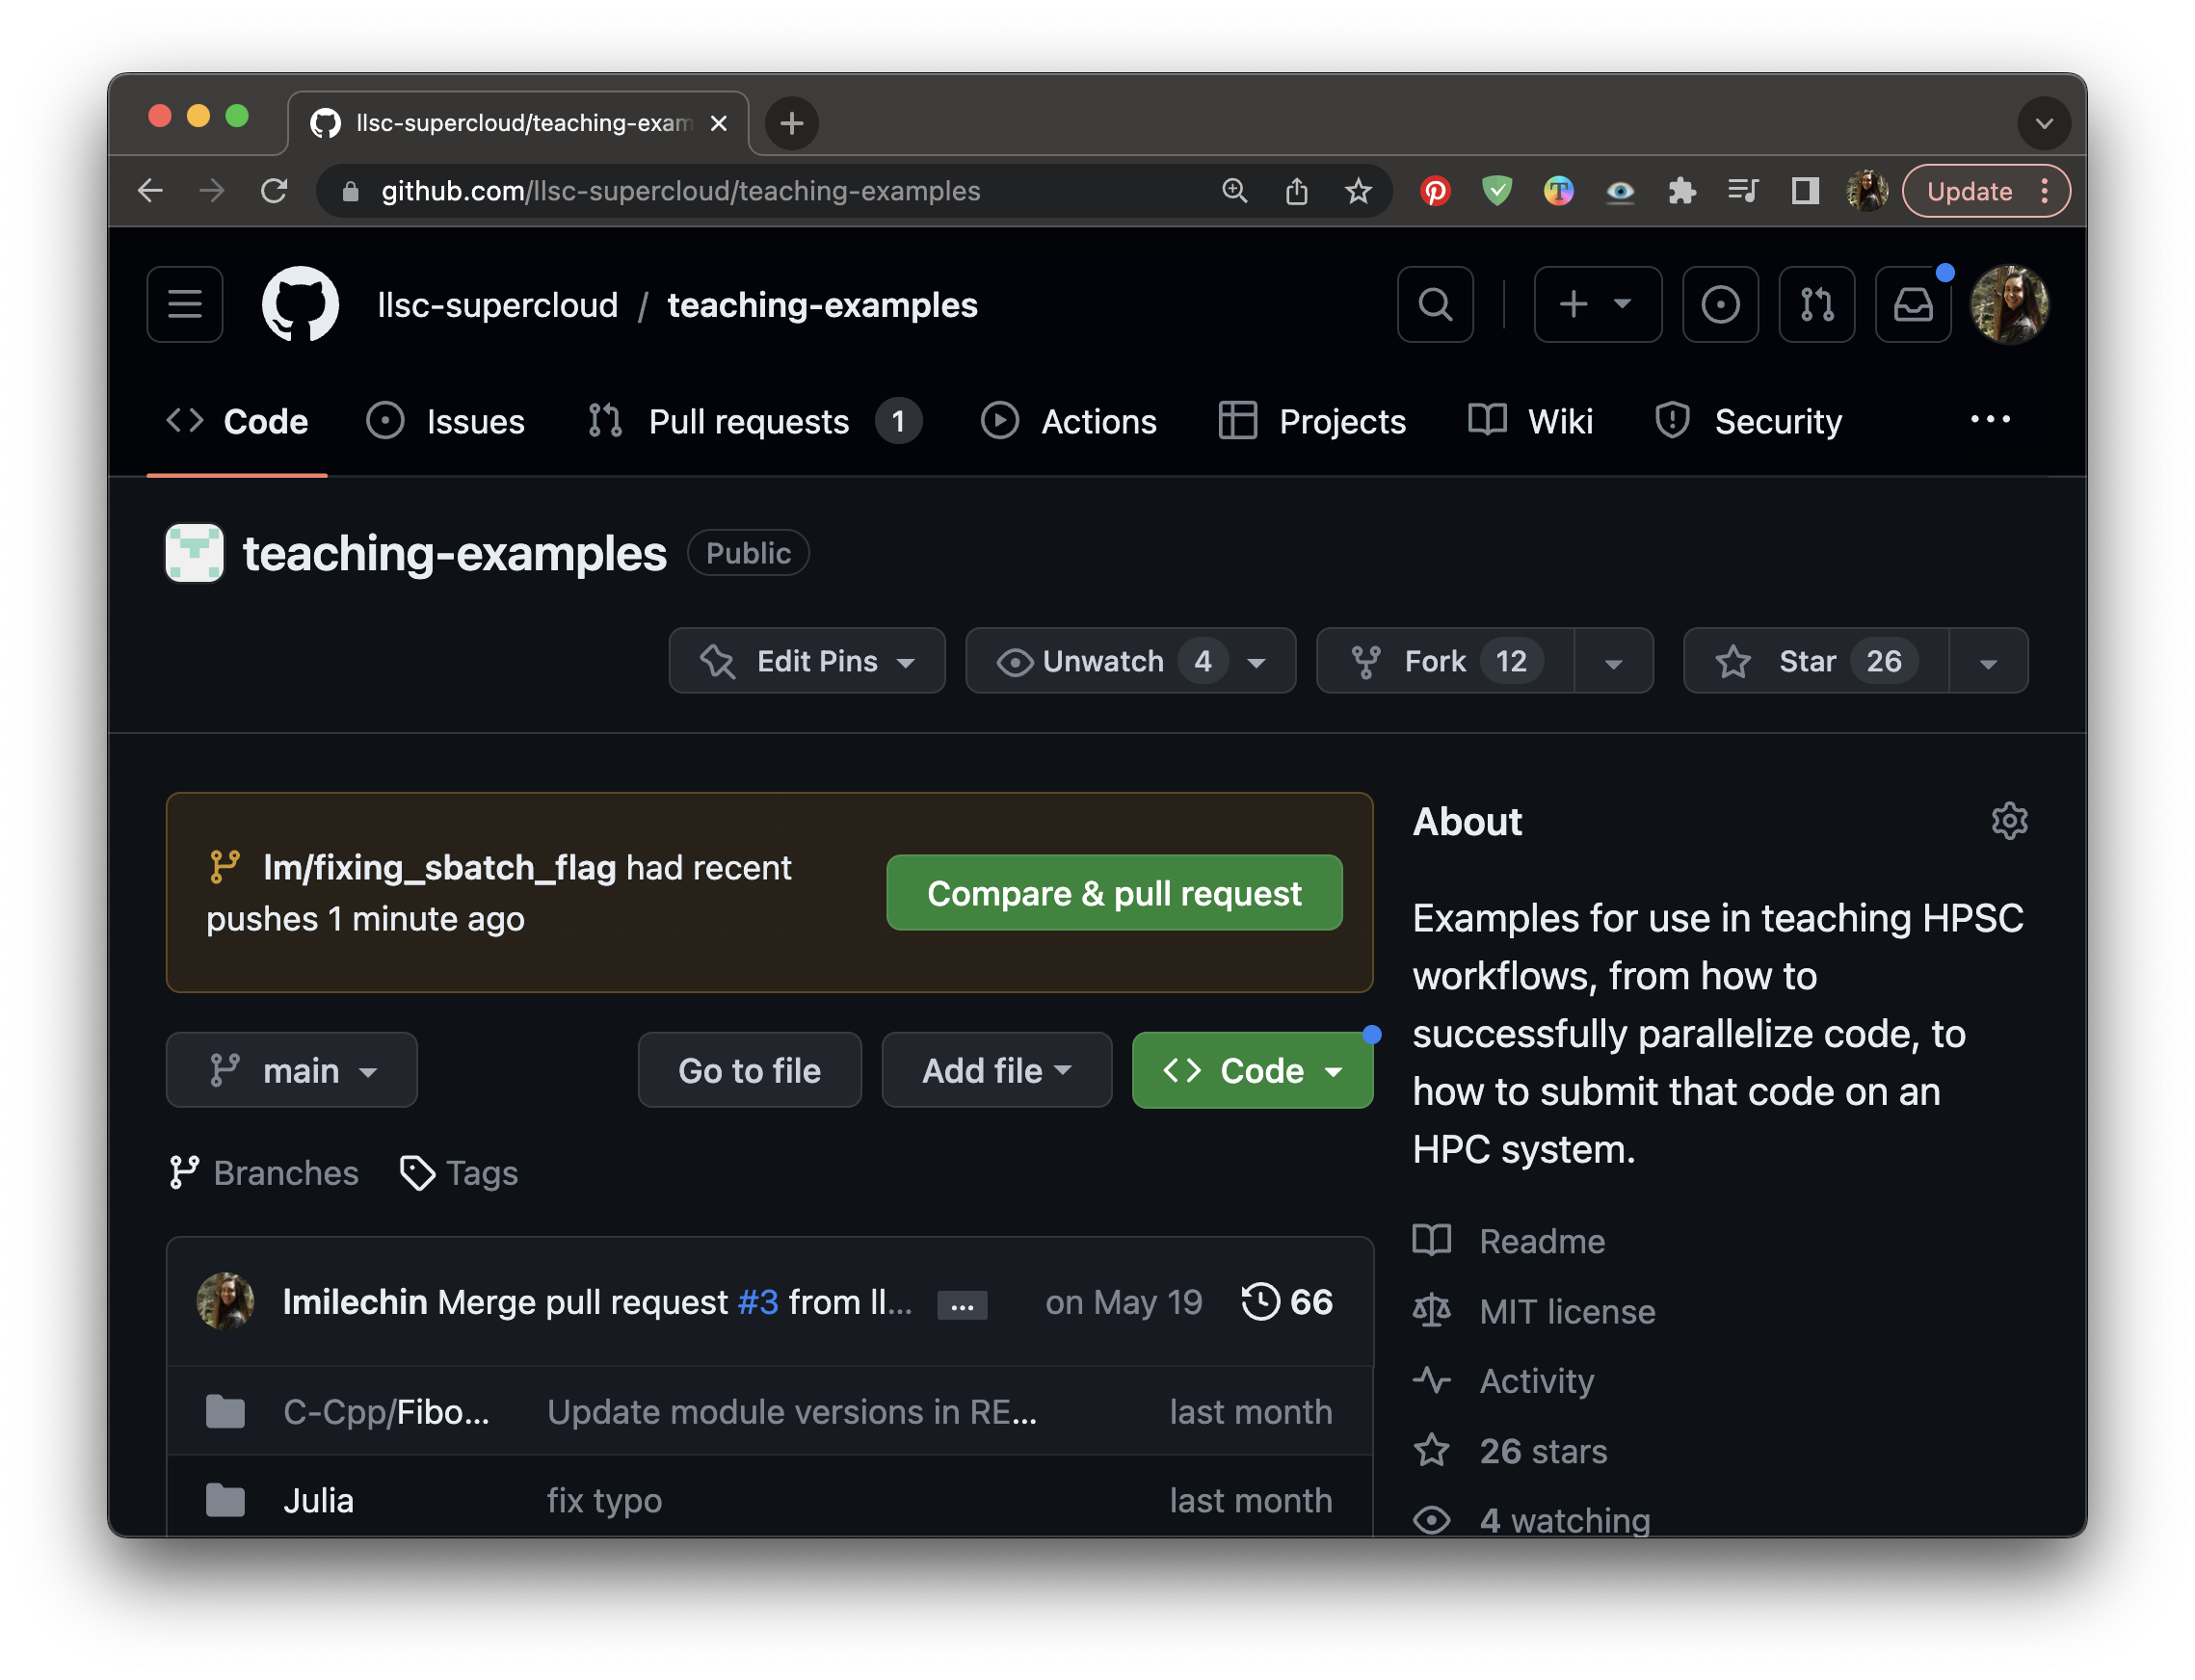
Image 1 of 1: ‘A screenshot of a repository on GitHub. A button with the text "Compare and Pull Request" is at the top fo the page.’
Creating a Pull Request: If you recently pushed
changes to your branch you may see a button that says “Compare and Pull
Request” on GitHub.
Figure 2
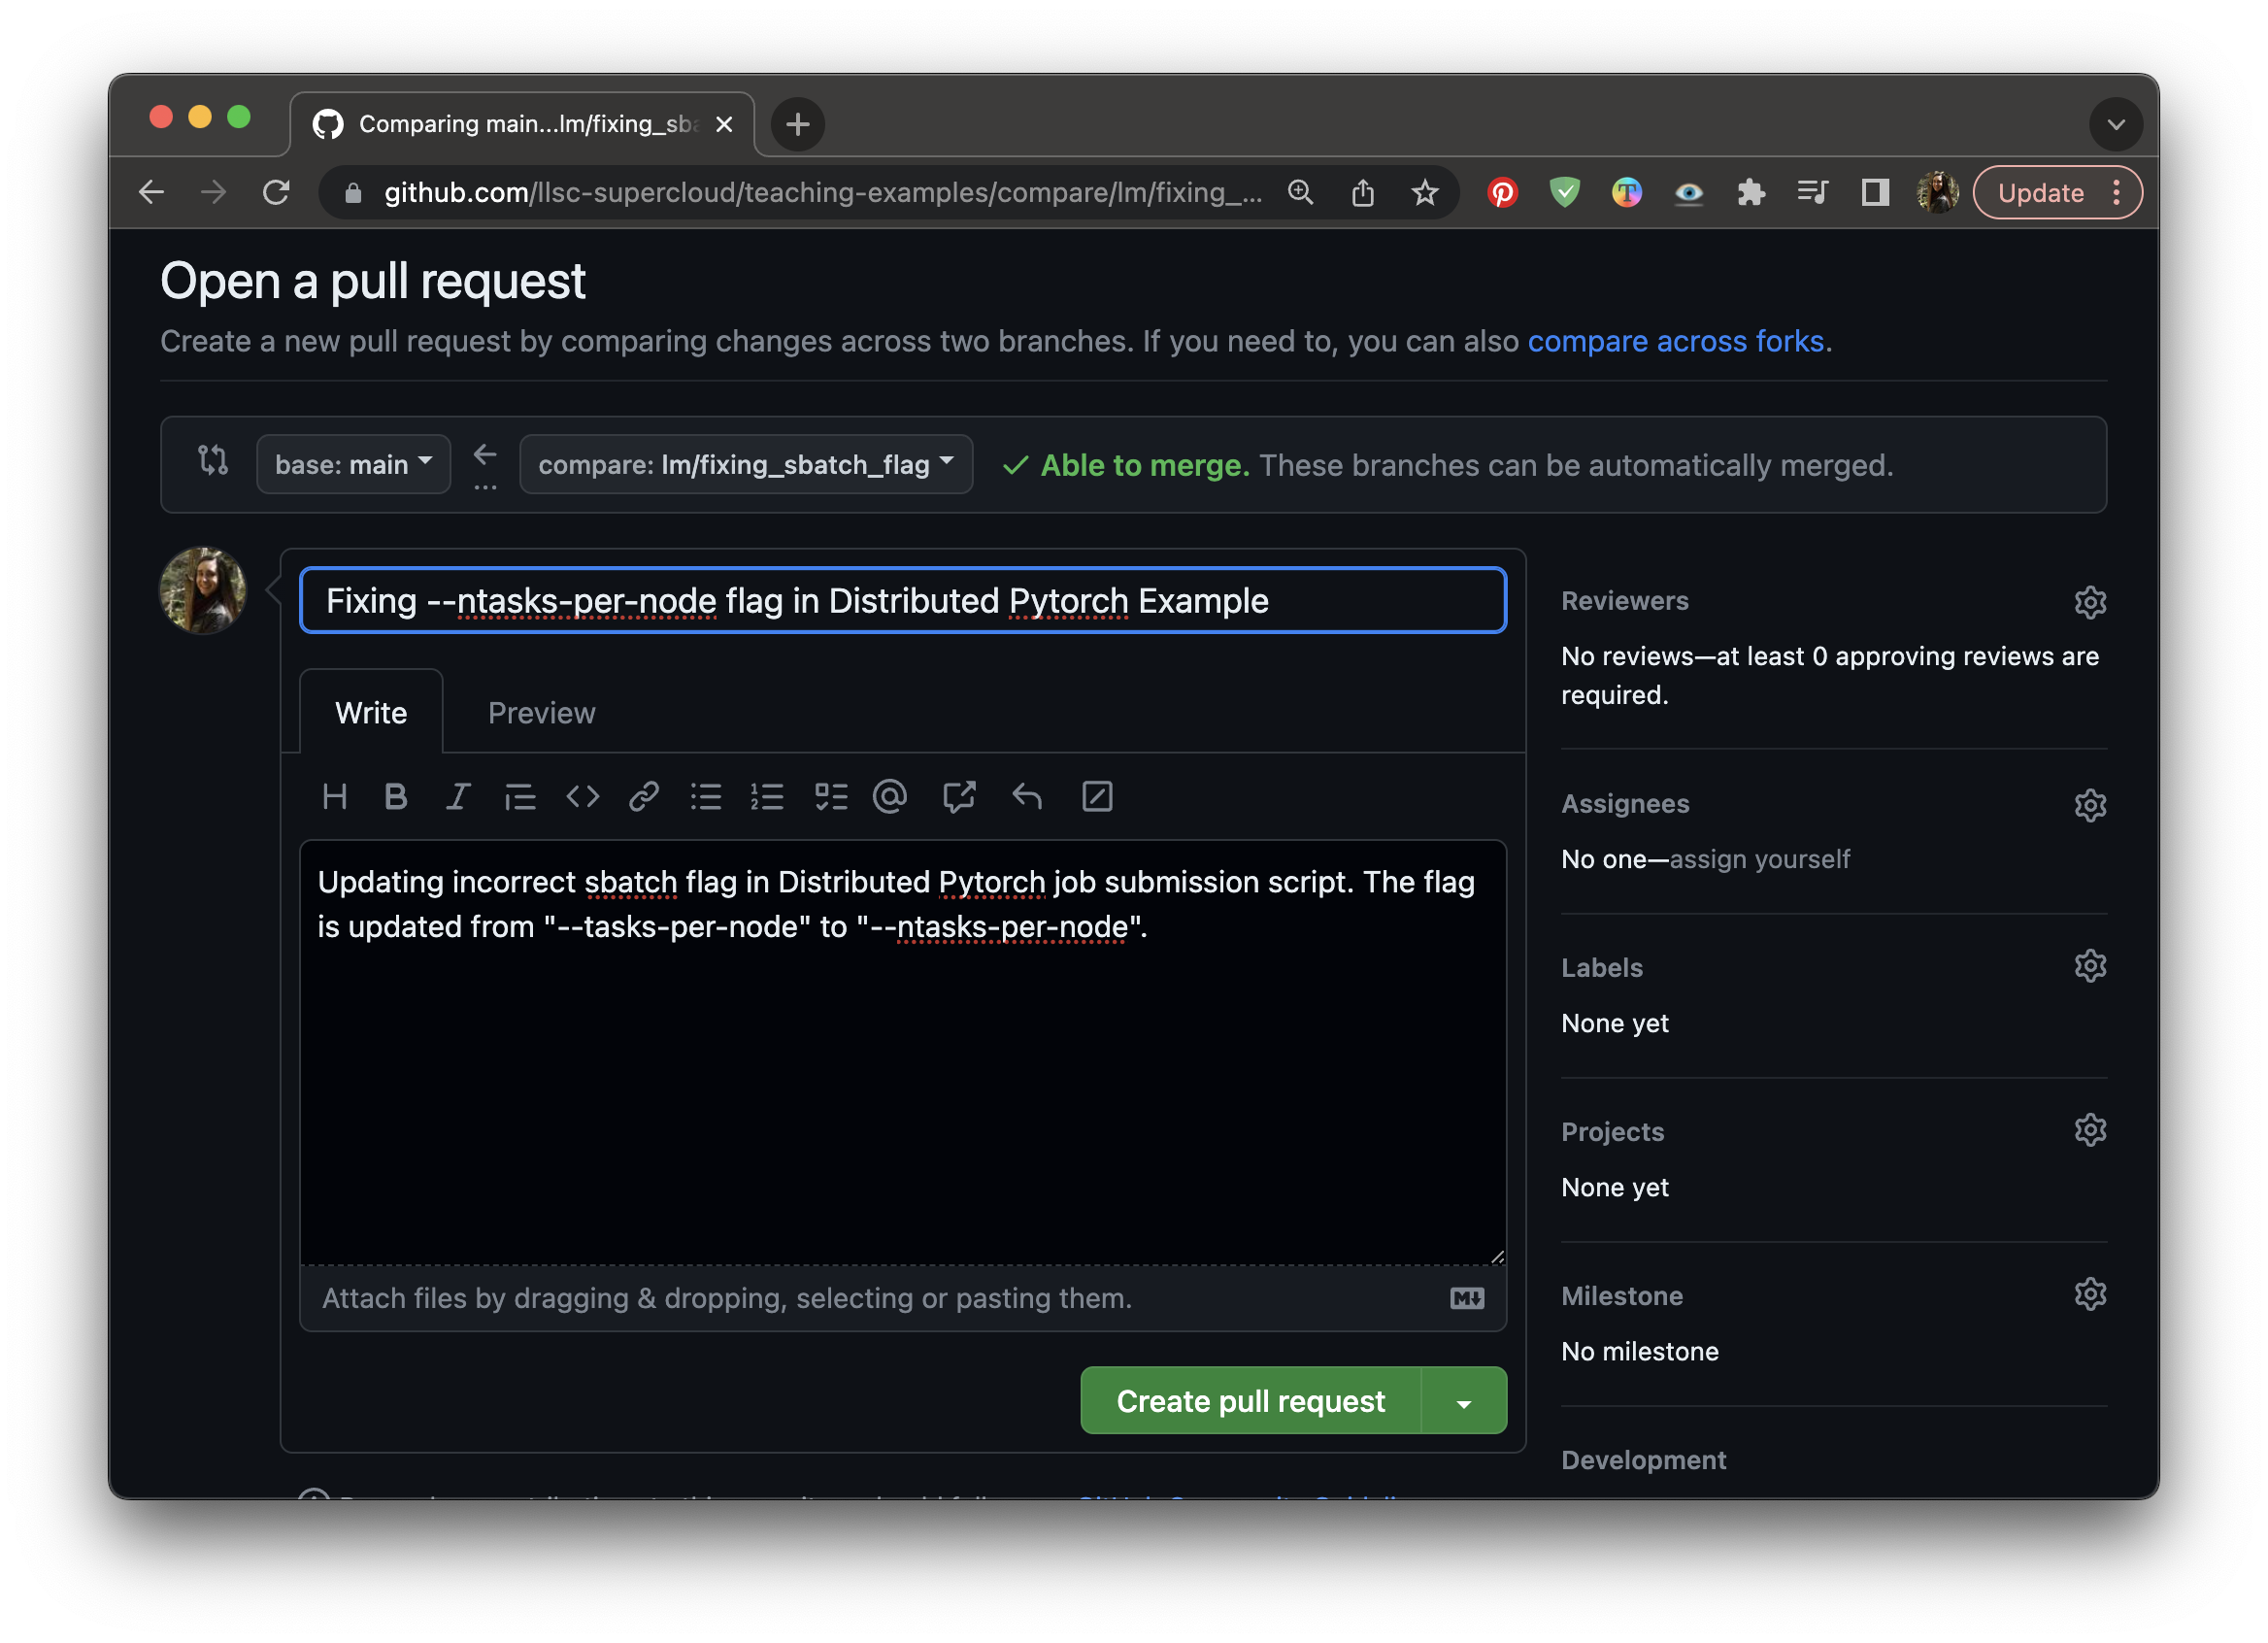
Image 1 of 1: ‘A screenshot of a Pull Request form on GitHub.The title and description are filled out.’
Creating a Pull Request: Give your Pull Request
a title and description.
Figure 3
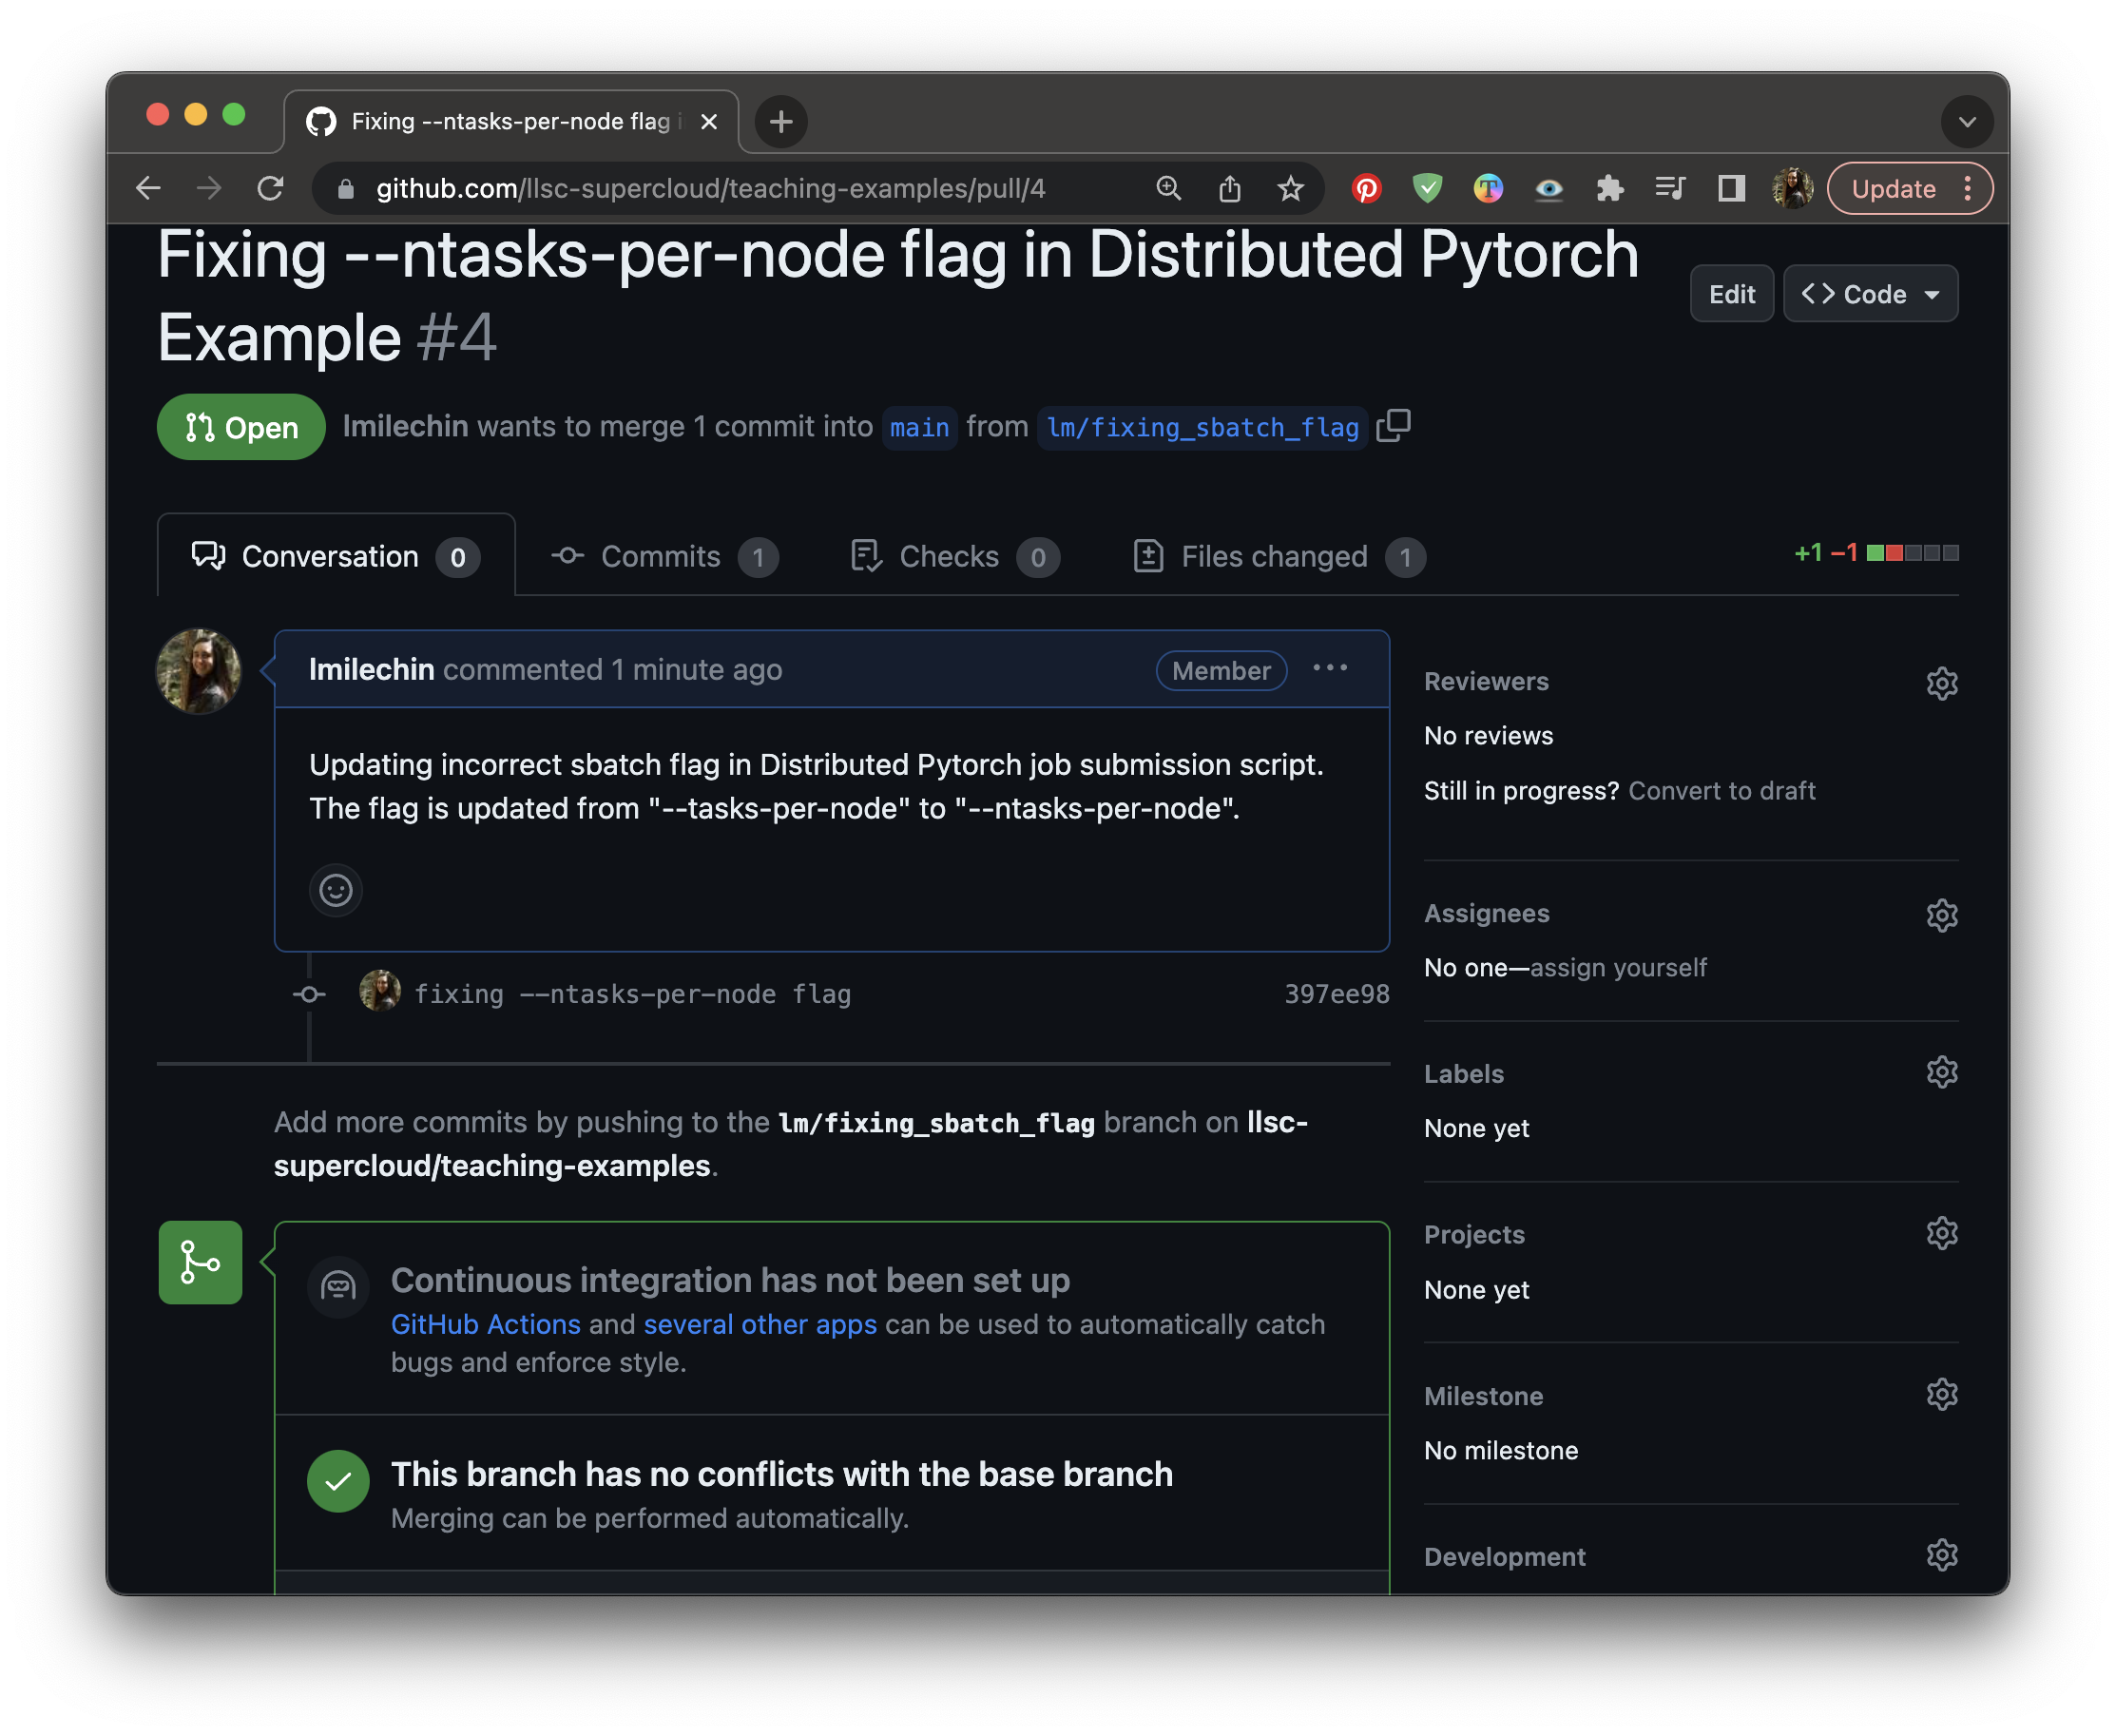
Image 1 of 1: ‘A screenshot of the conversation tab of a Pull Request.’
The conversation tab of a Pull Request.
Figure 4
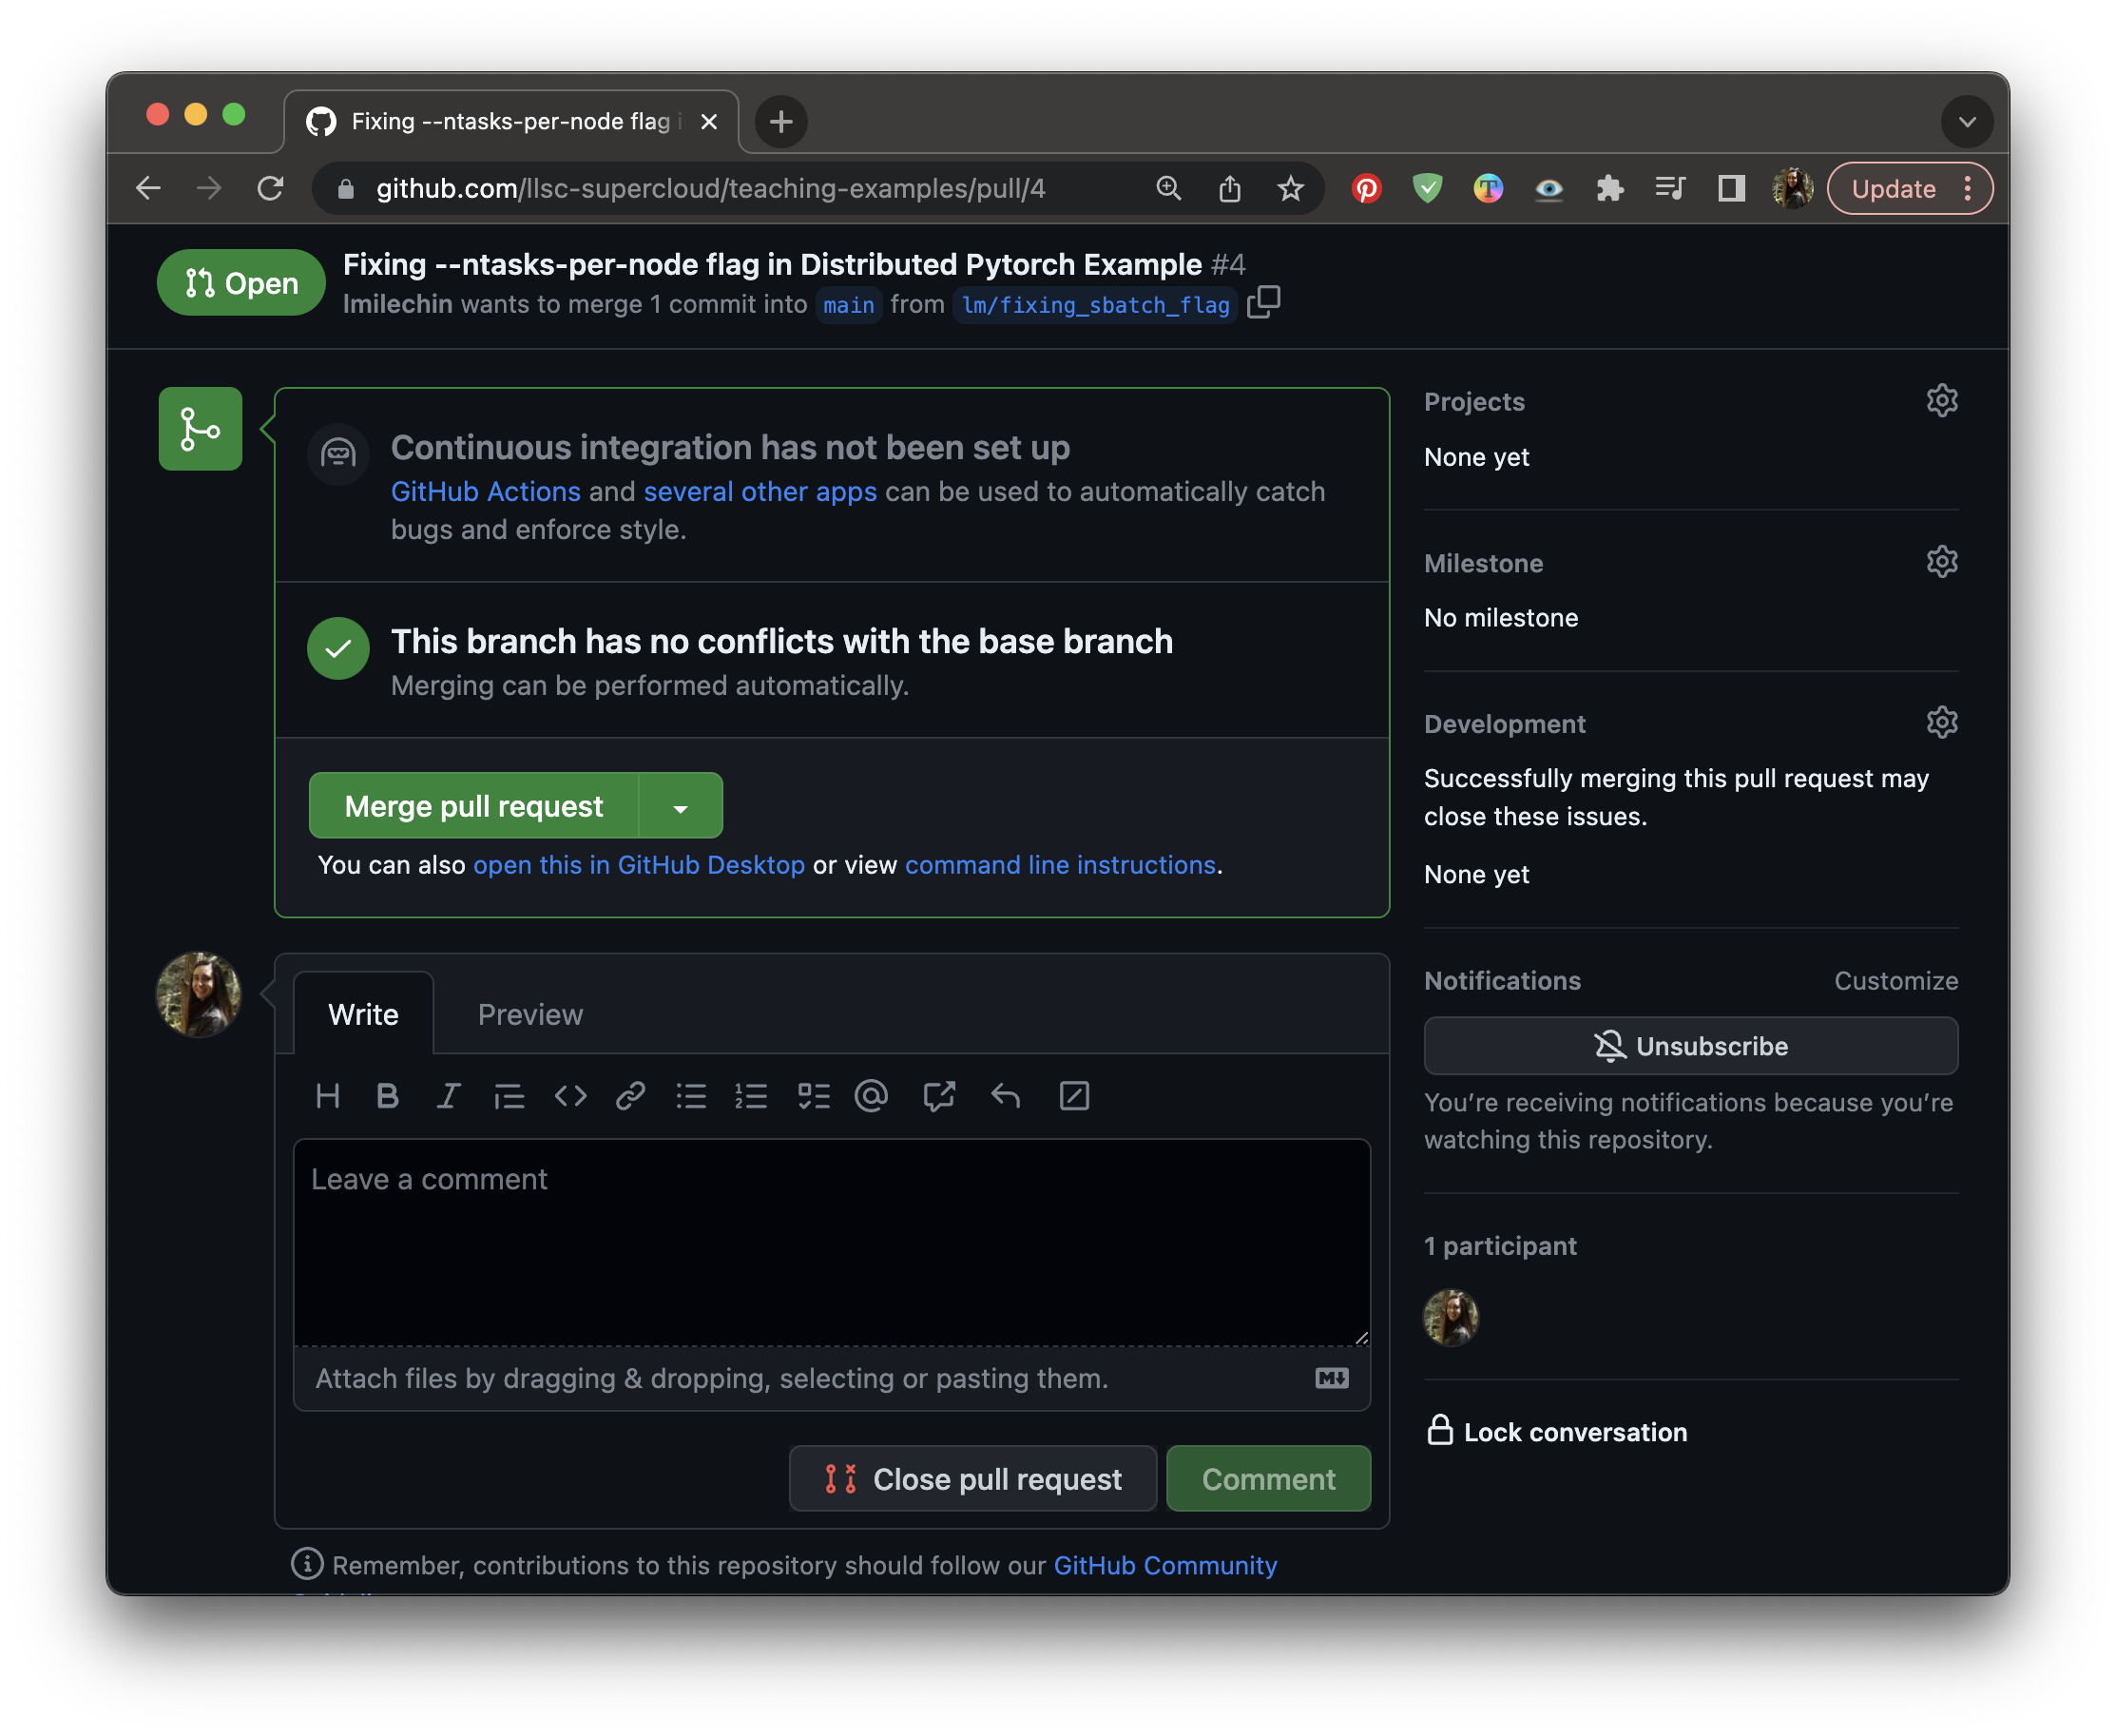
Image 1 of 1: ‘A screenshot of the bottom of the conversation tab of a Pull Request. At the bottom of the page is a box to leave a comment.’
The conversation tab of a Pull Request. Scroll
to the bottom of the page to leave a comment.
Figure 5
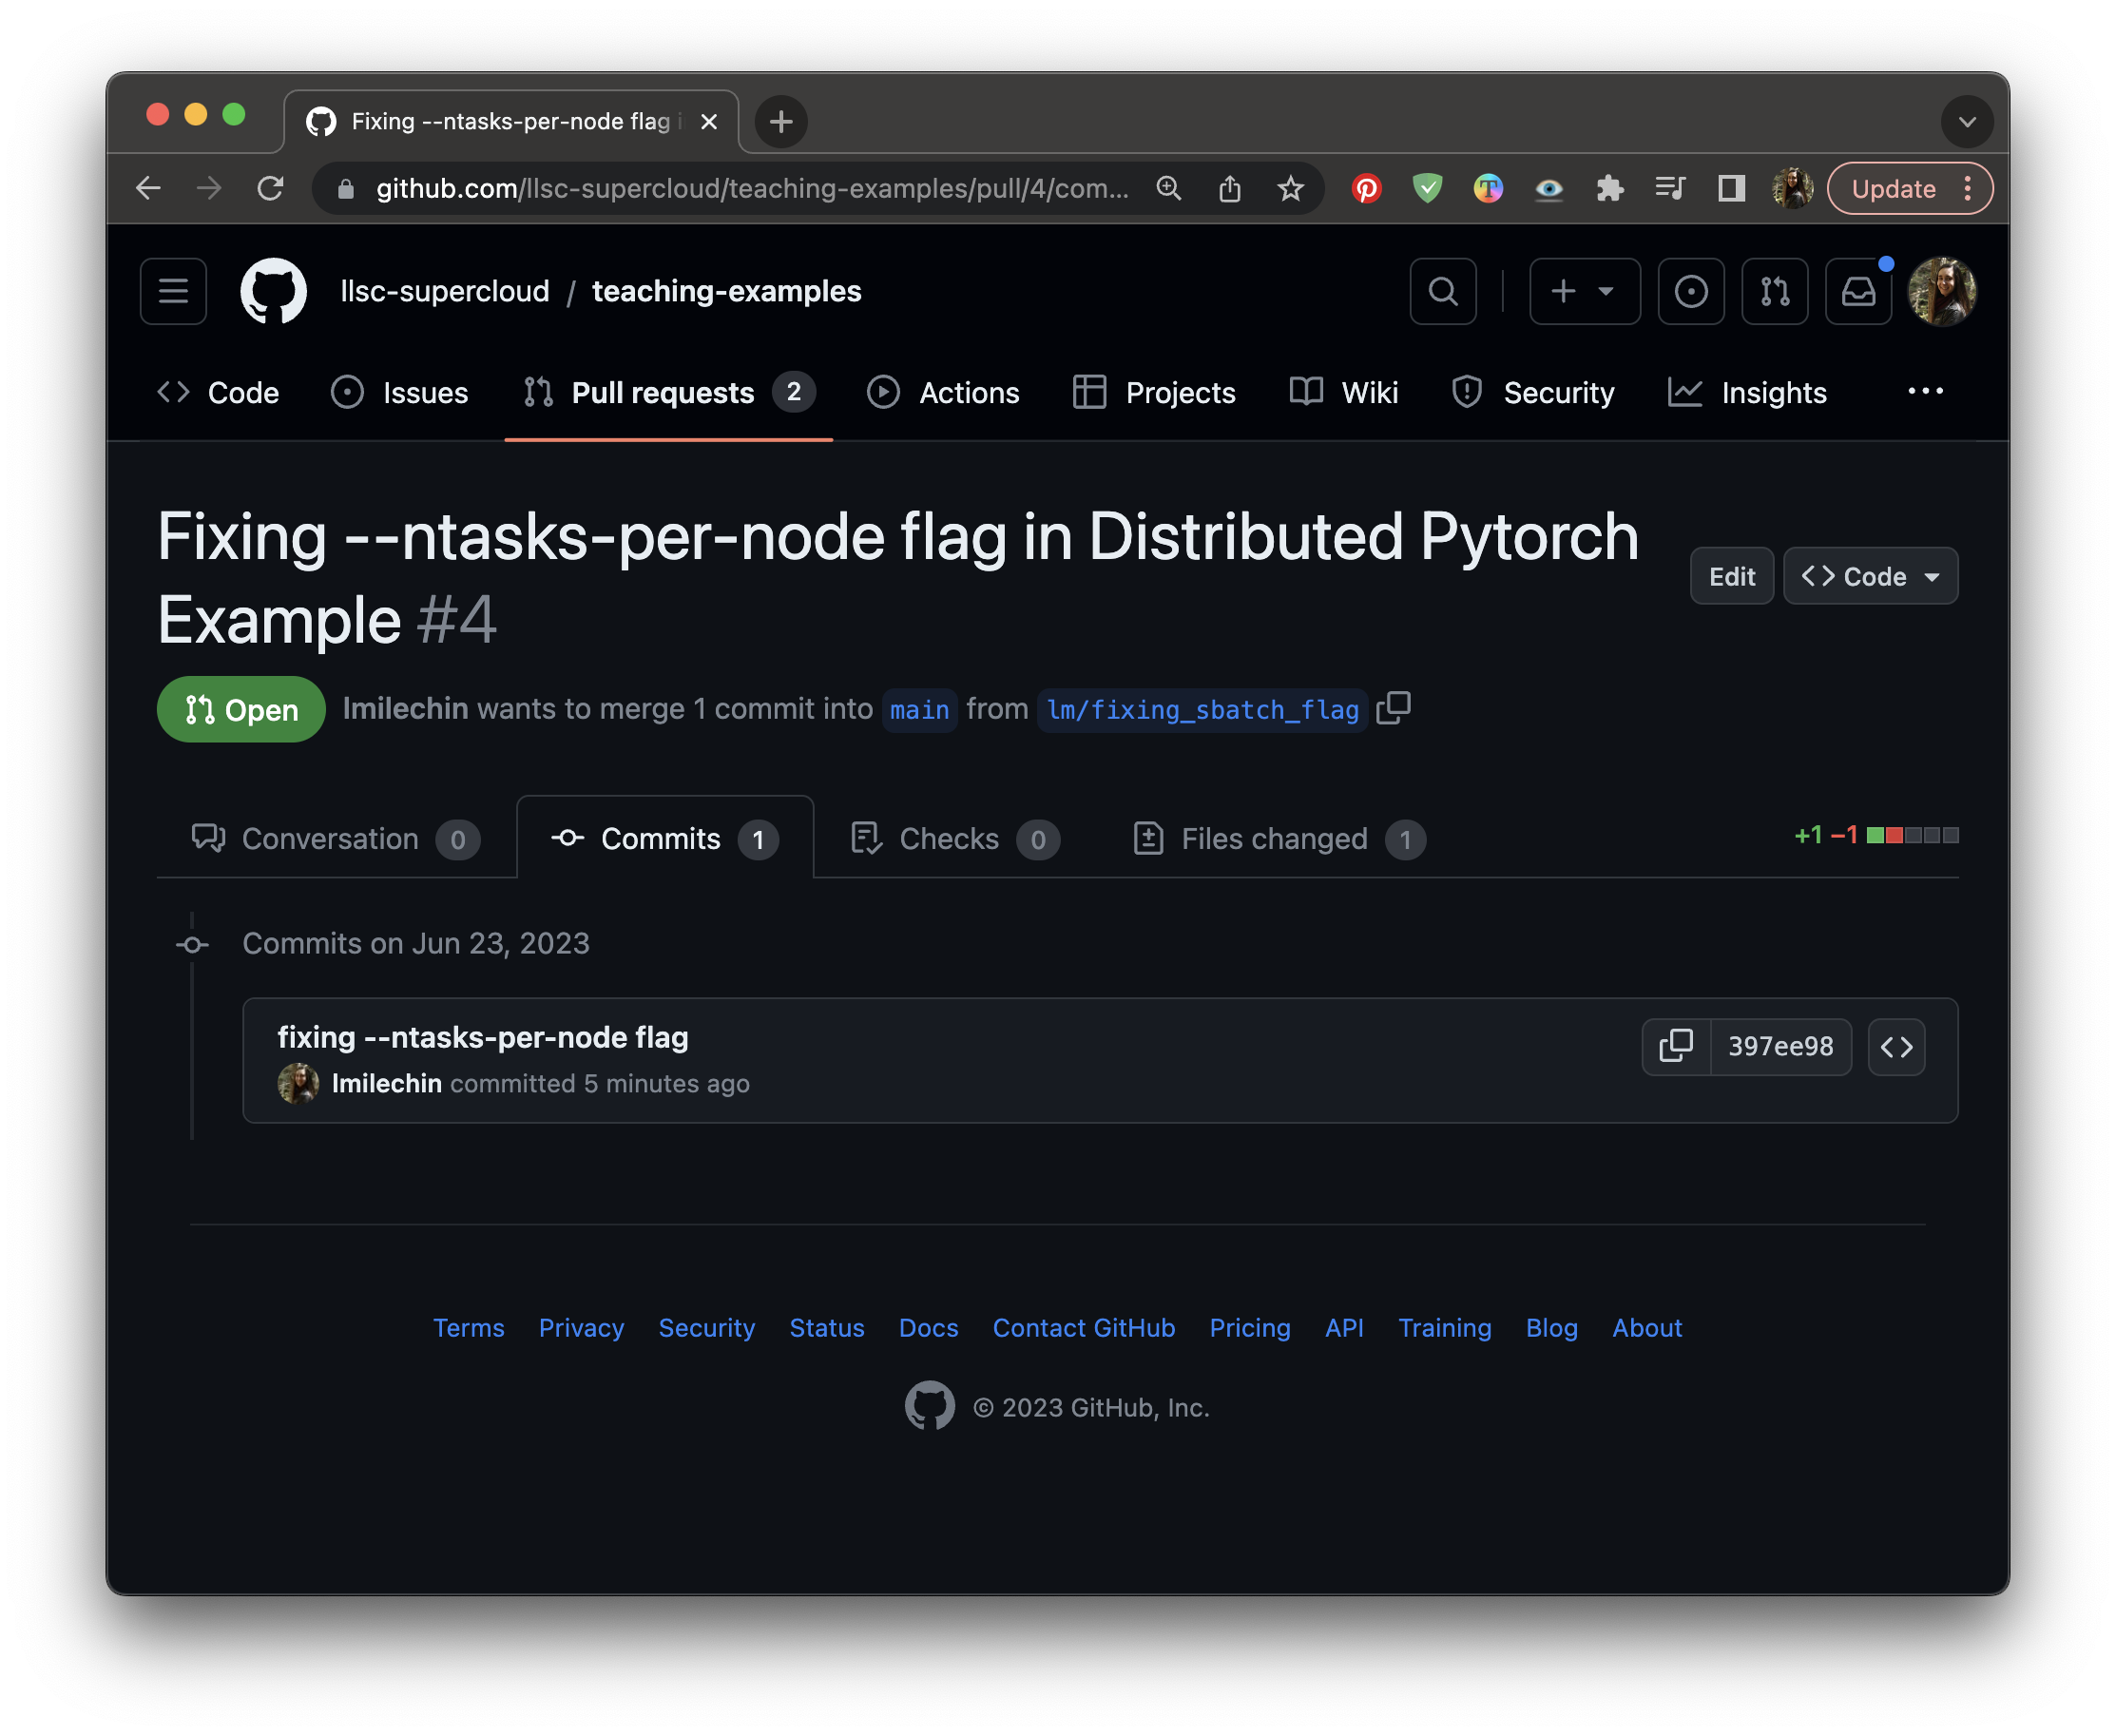
Image 1 of 1: ‘A screenshot of the Commits tab of a Pull Request. The page shows the single commit in this pull request.’
The commits tab of a Pull Request.
Figure 6
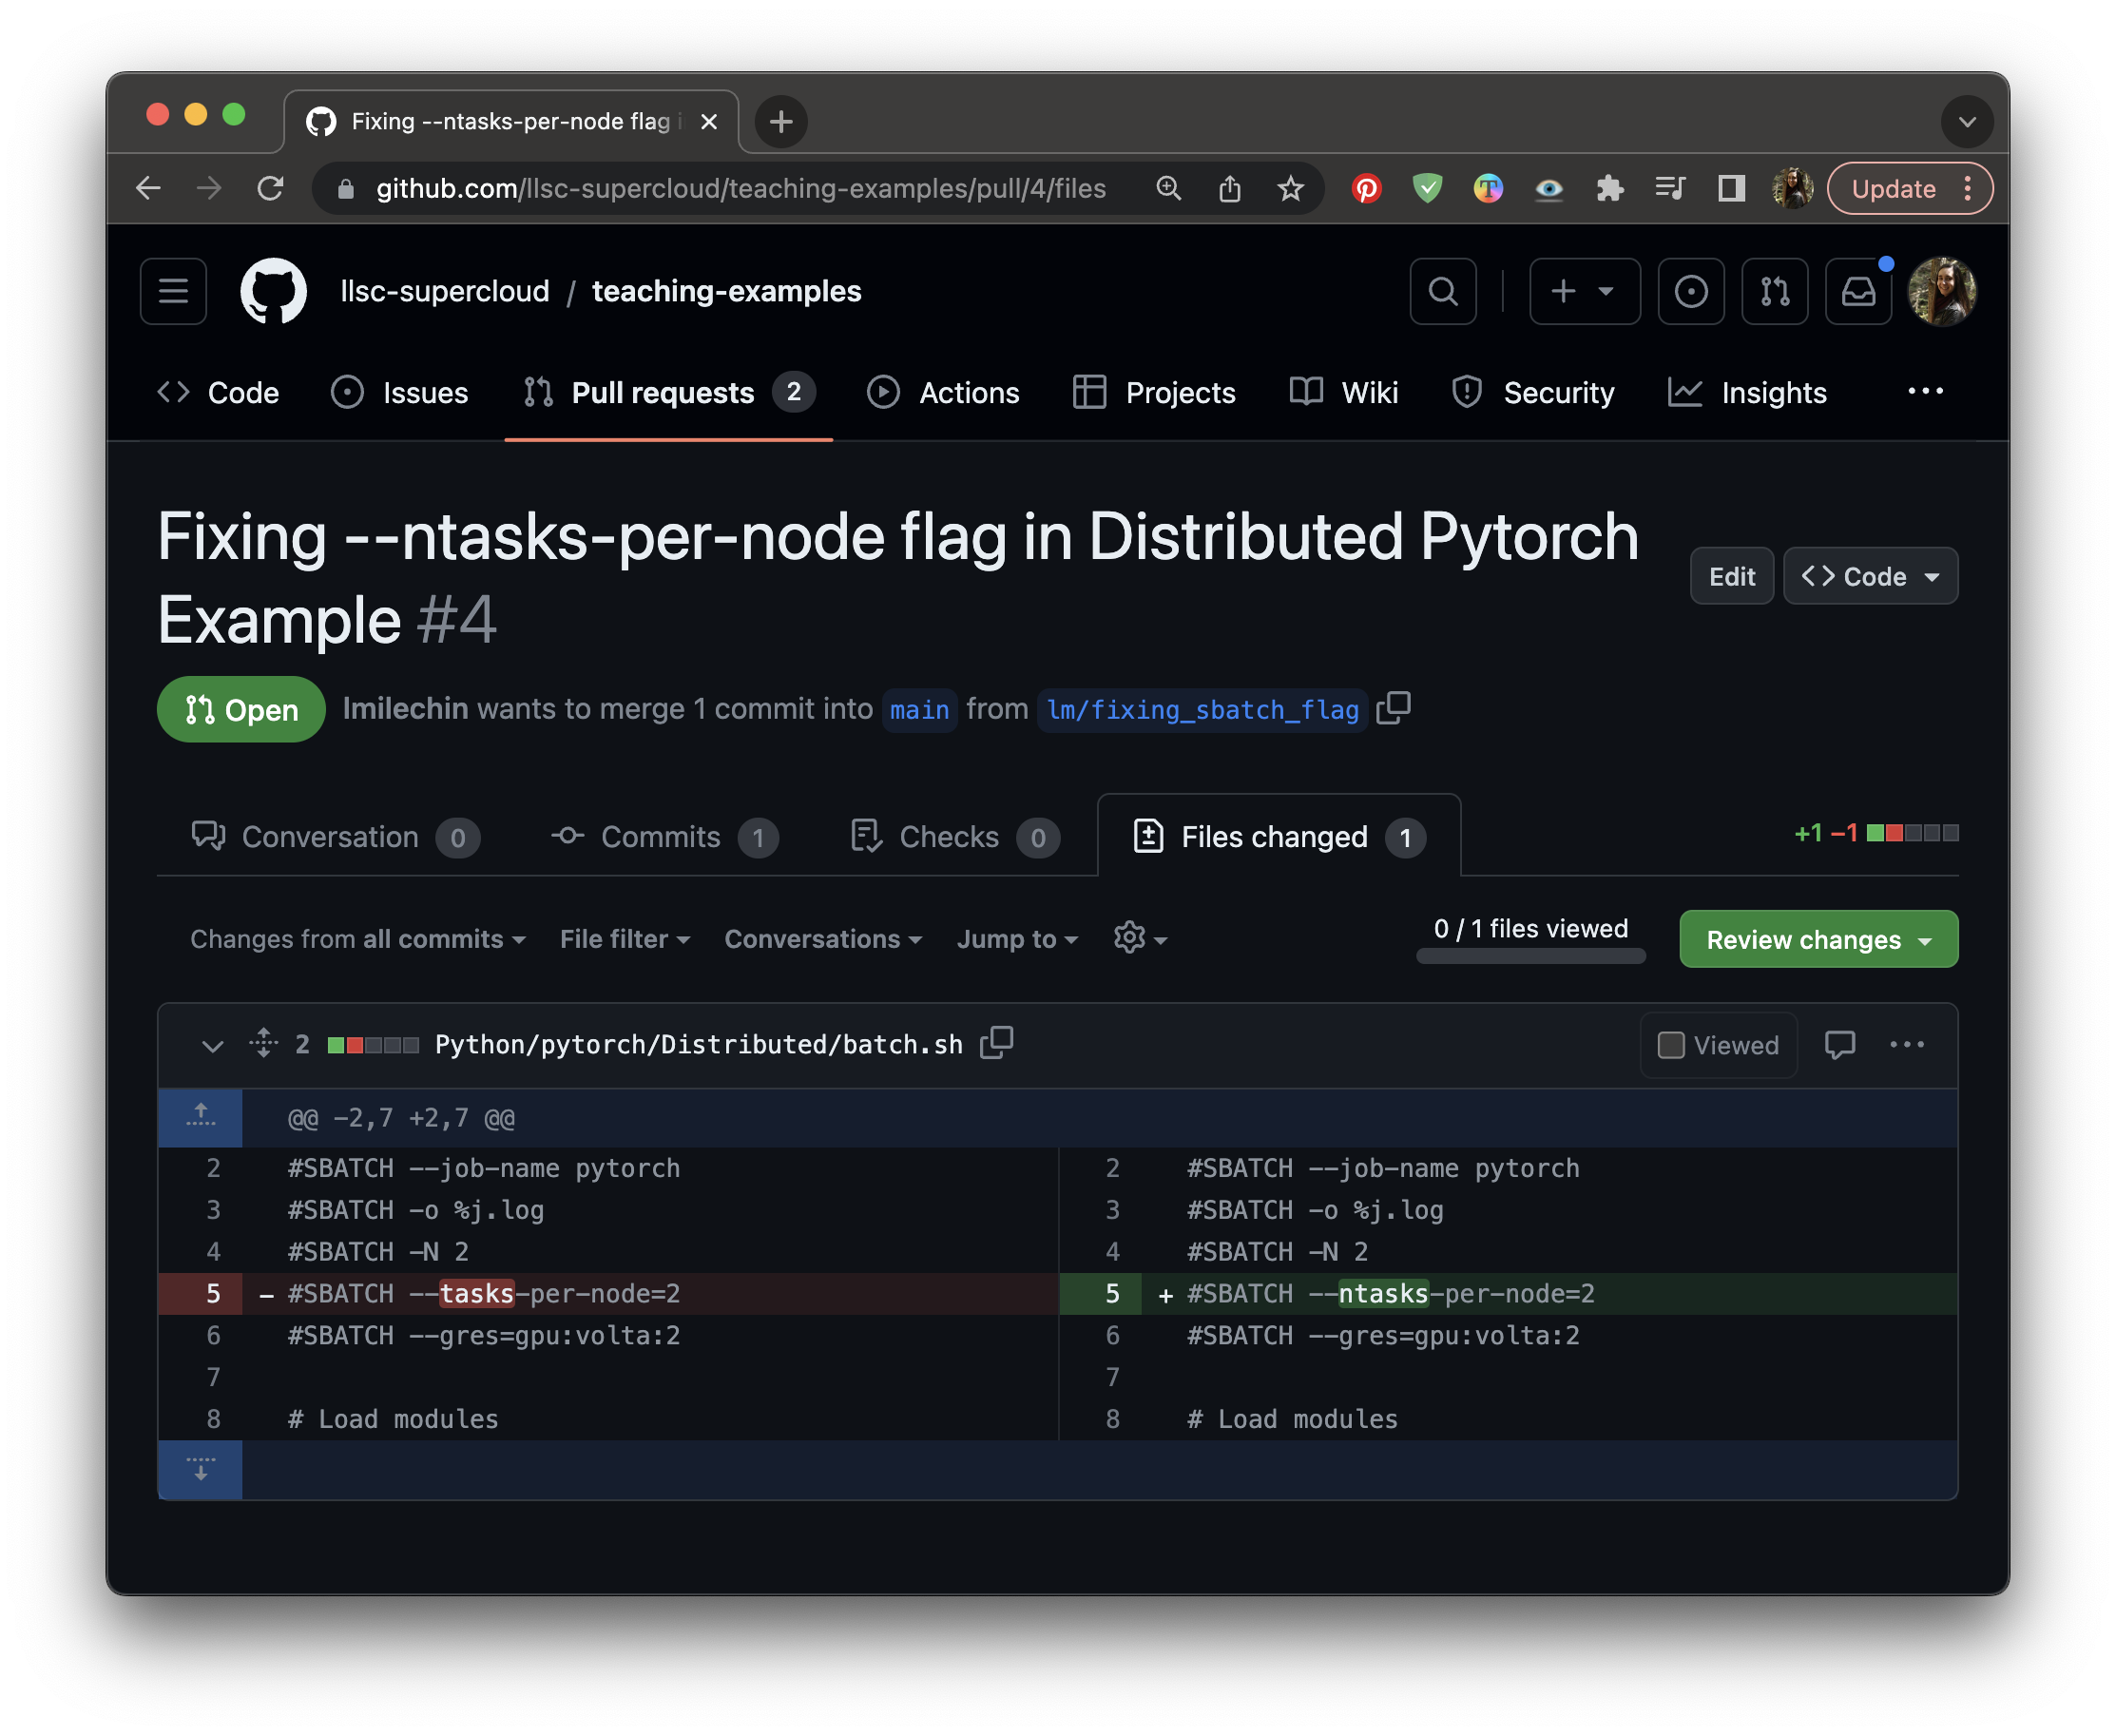
Image 1 of 1: ‘A screenshot of the Files Changed tab of a Pull Request. The page shows one line of code has been updated.’
The Files Changed tab of a Pull Request, showing
what the proposed changes are for the Pull Request. You can click the +
next to a line number to leave an in-line comment.
Figure 7
Image 1 of 1: ‘A screenshot of the Conversation tab of a pull request on GitHub. This page shows additional commits added after the pull request was created along with their commit messages in a top-to-bottom timeline.’
New commits can be seen on the Conversation
Tab.
Figure 8
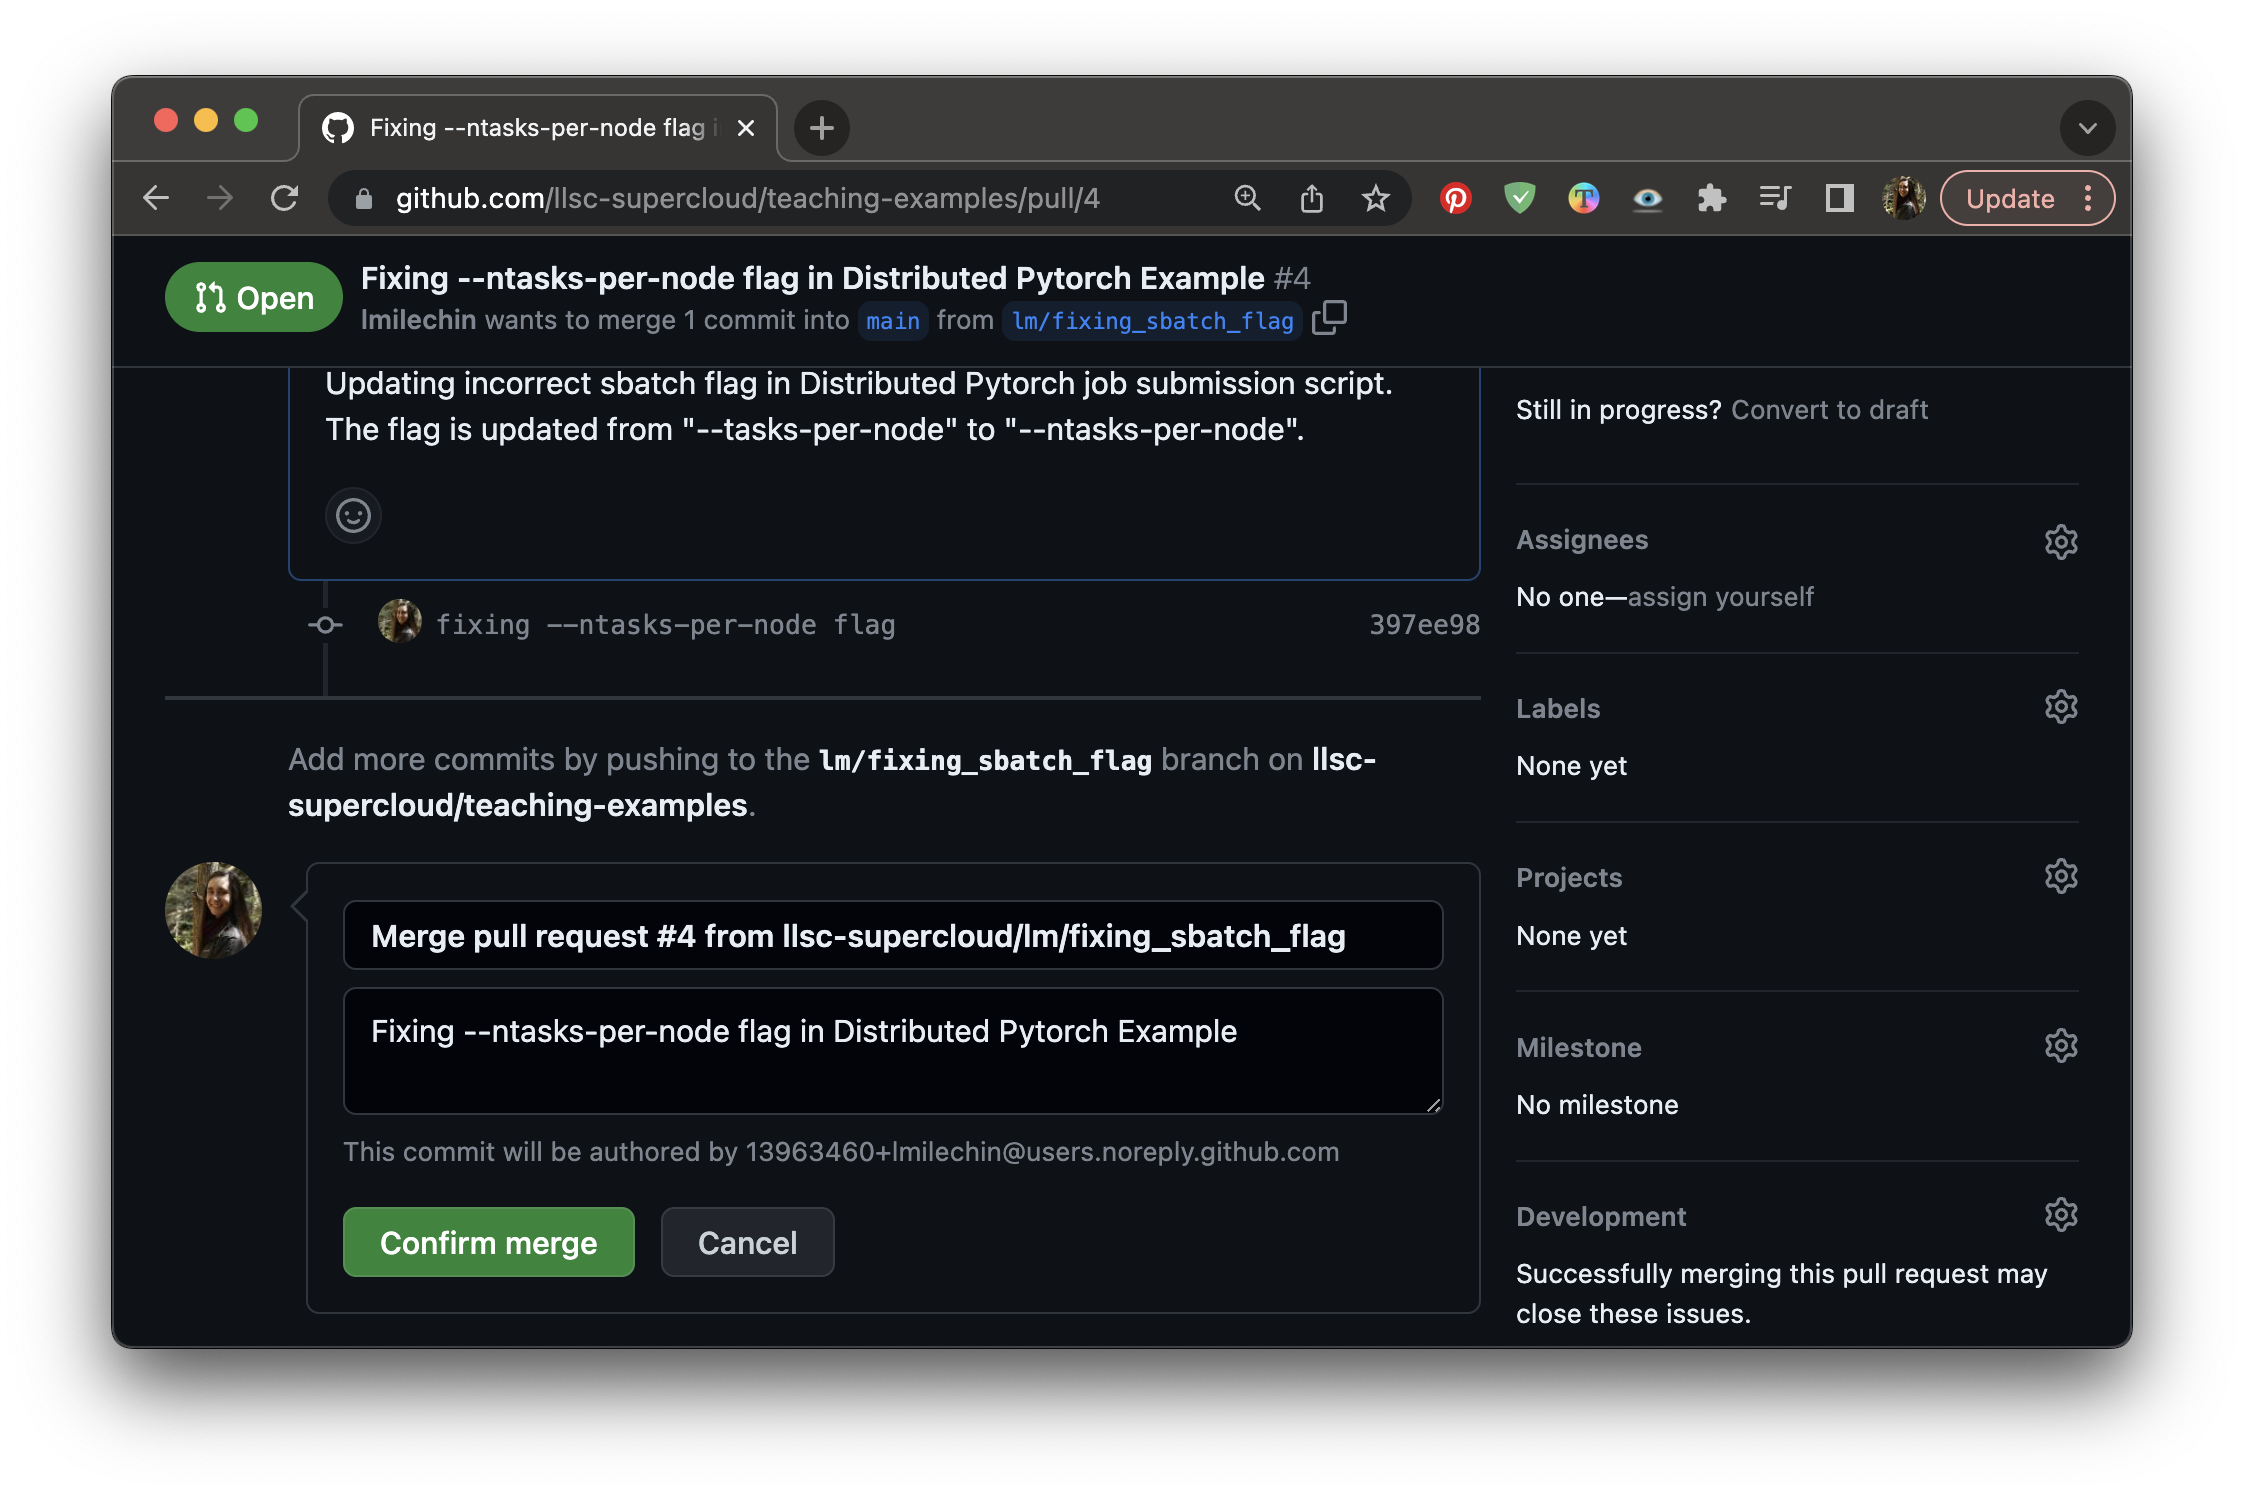
Image 1 of 1: ‘A screenshot of the bottom of the conversation tab of a Pull Request after clicking "Merge Pull Request". There is a box with the original Pull Request title and description, with a button that says "Confirm Merge" below that.’
After clicking the “Merge Pull Request” button
on the conversation, click “Confirm Merge” to merge the pull
request.